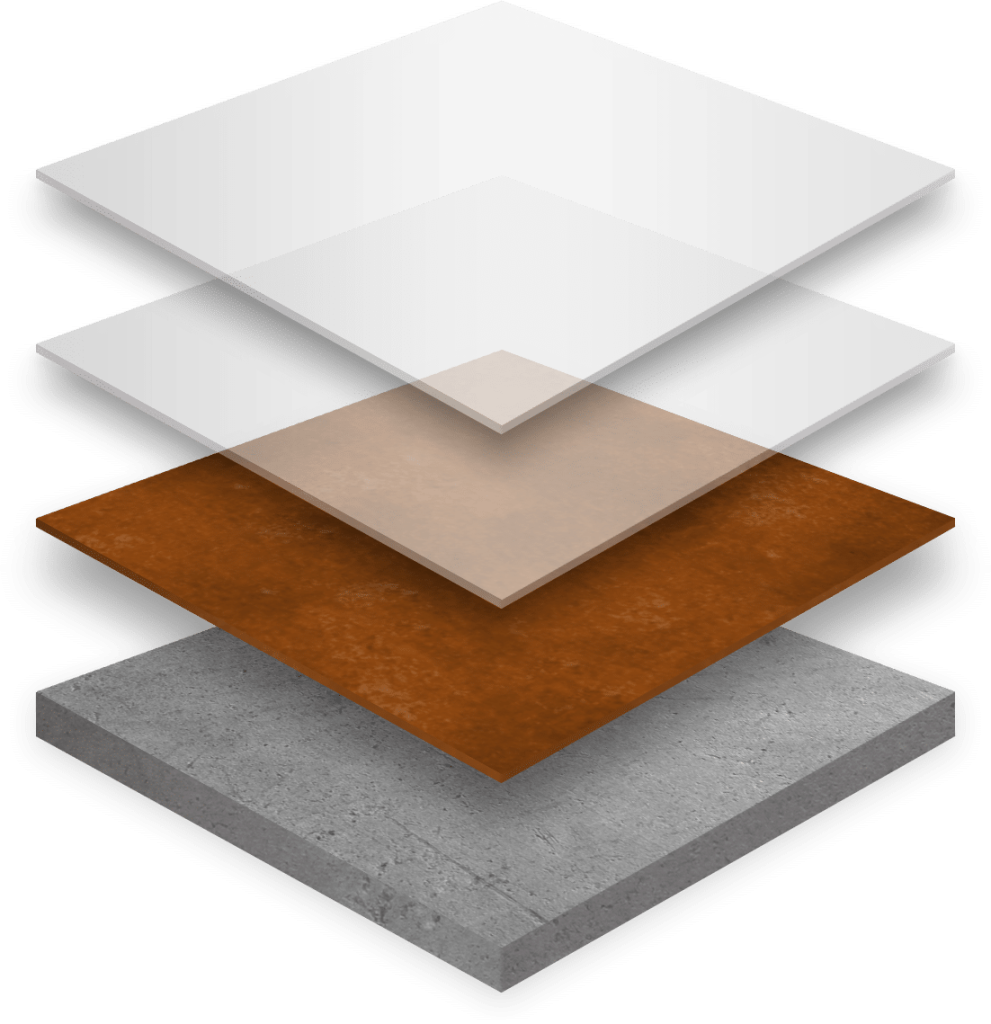
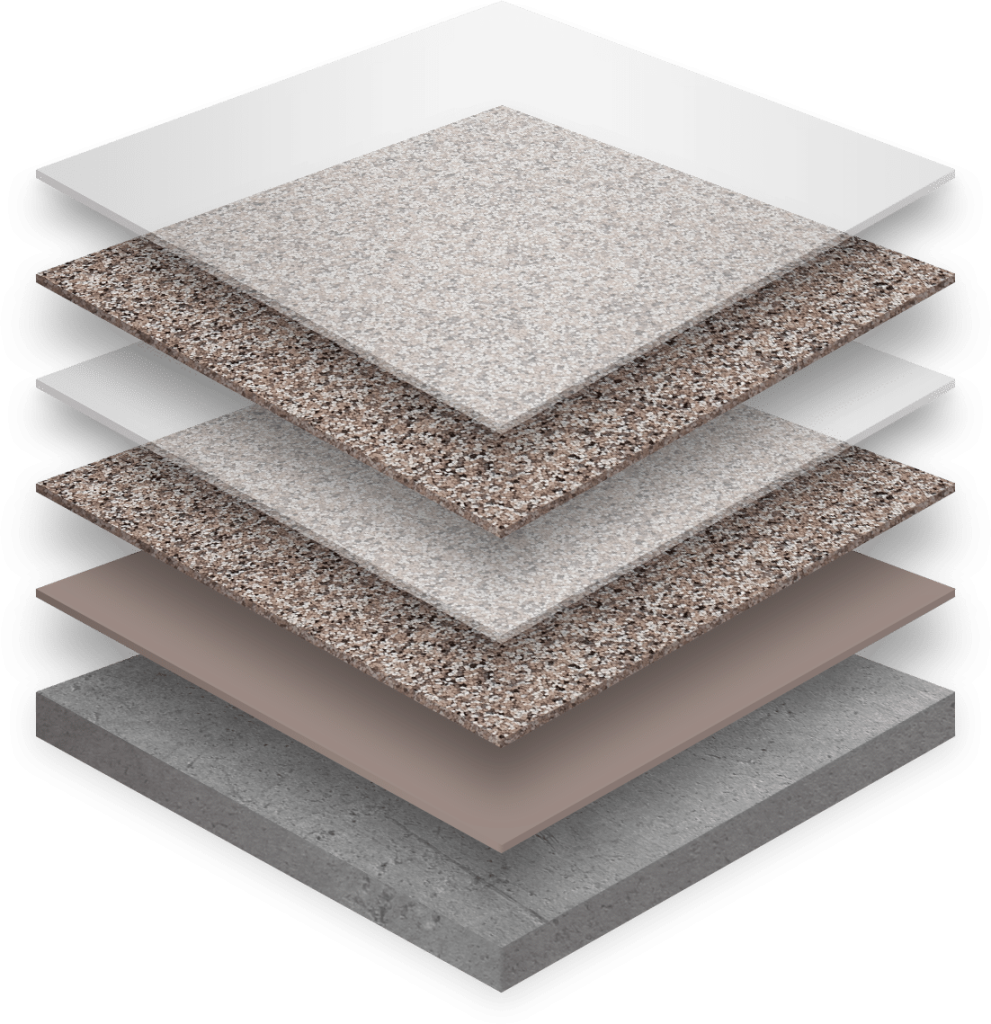
At Hardy Concrete Coatings, we prioritize the longevity of your surfaces by using only premium quality products from industry-leading manufacturers. Our expertly applied epoxies, polyaspartics, polyureas, urethanes, and sealers are selected for their exceptional durability and resistance to wear, ensuring your floors and counters withstand the test of time.
Combined with our certified application techniques and state-of-the-art, HEPA-certified equipment, we guarantee a flawless finish that not only enhances the beauty of your space but also provides lasting protection for years to come.
Great for garage floors, basement floors, shop floors, and offices.
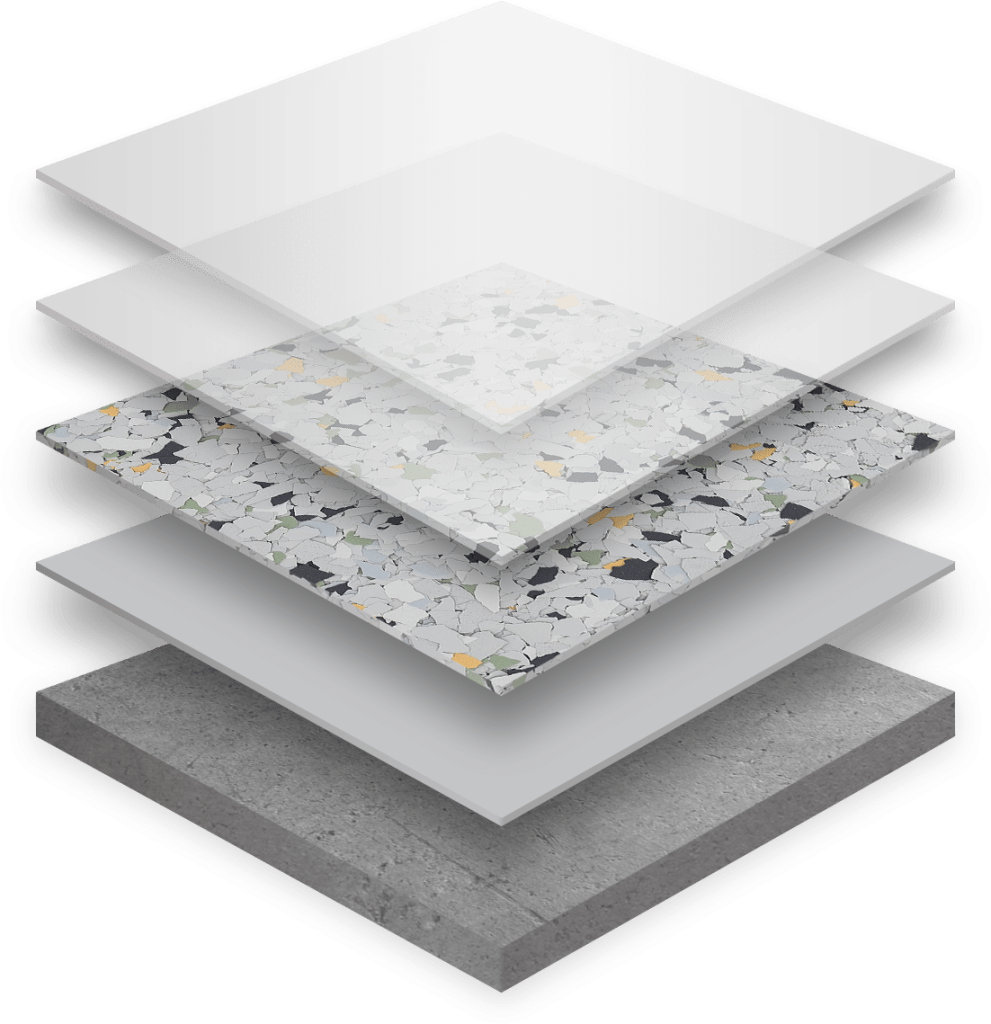
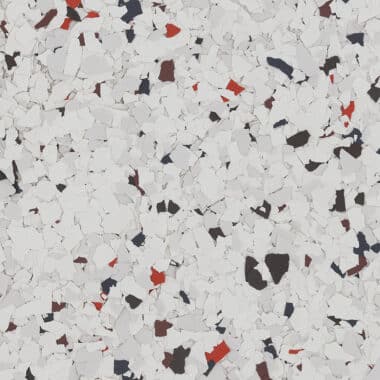
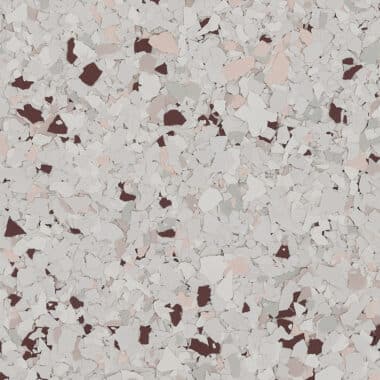
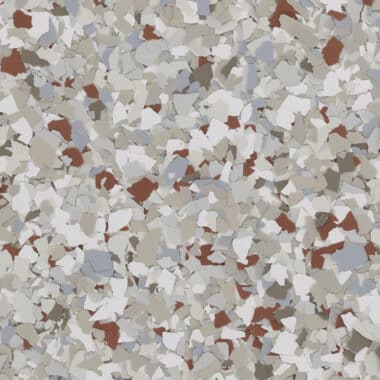
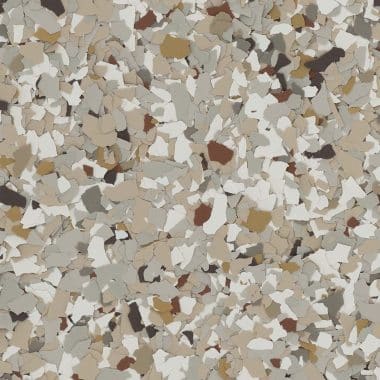
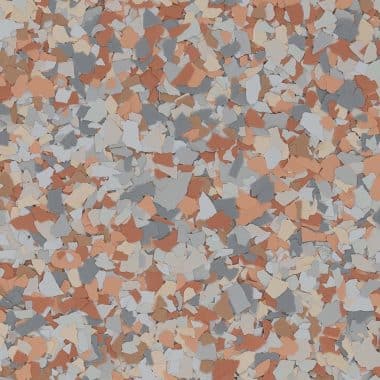
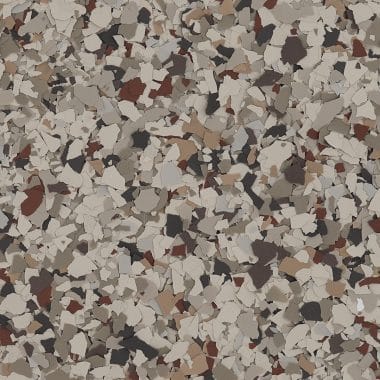
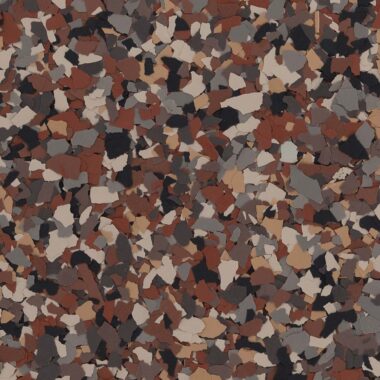
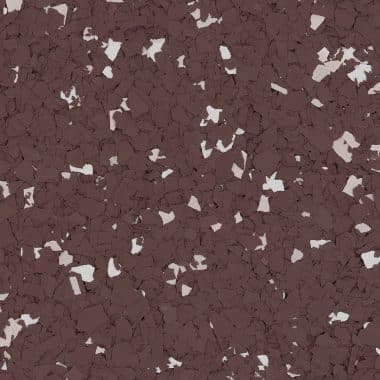
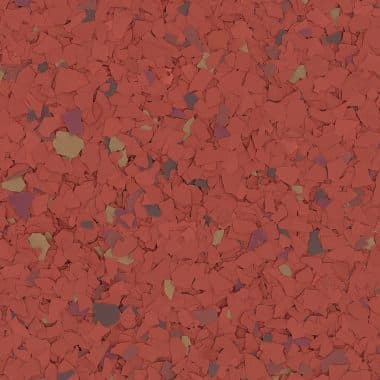
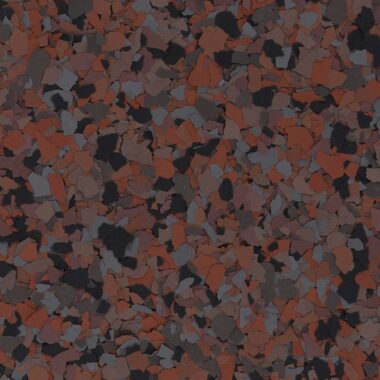
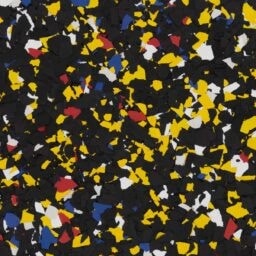
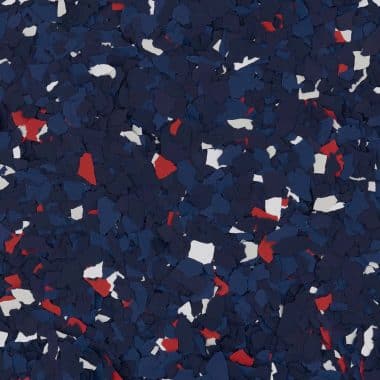
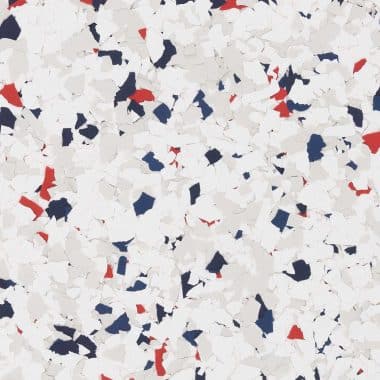
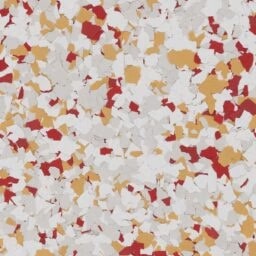
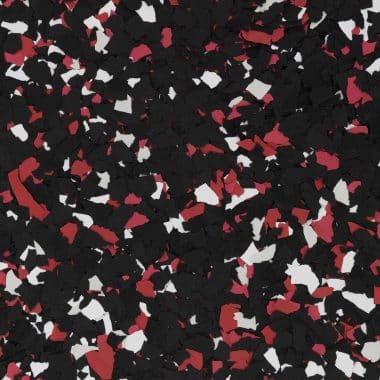
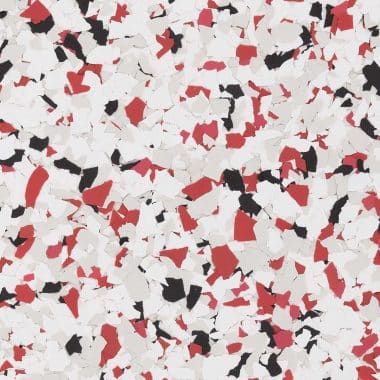
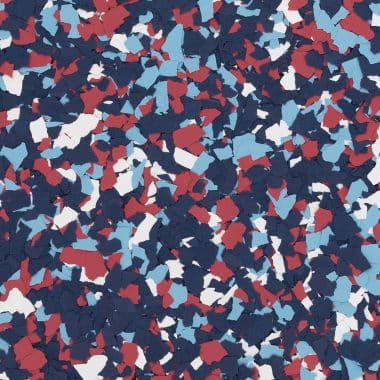
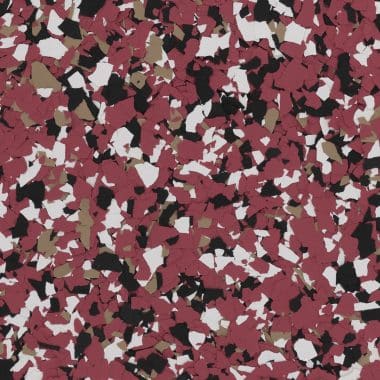
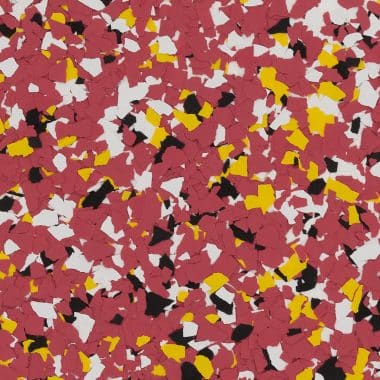
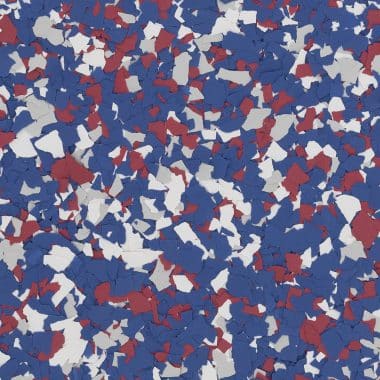
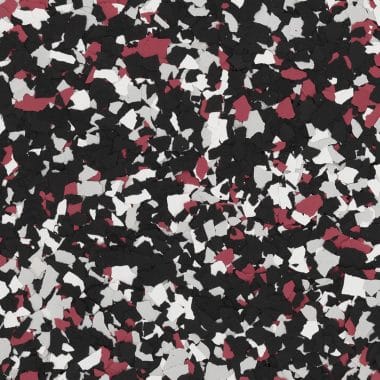
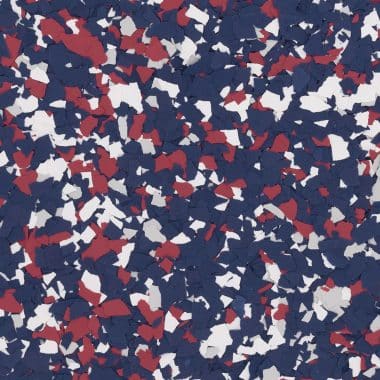
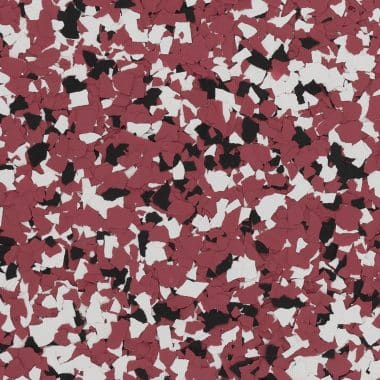
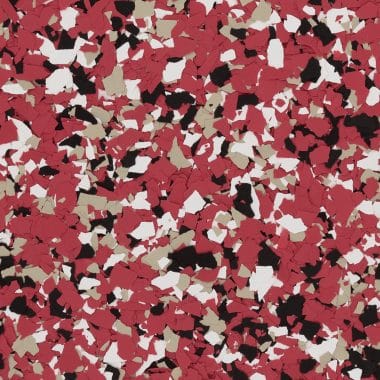
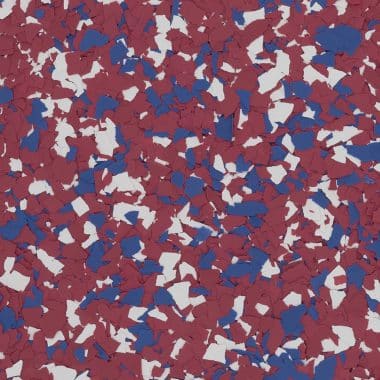
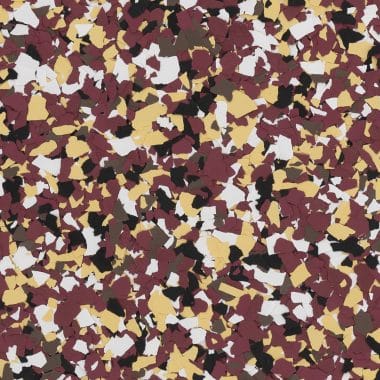
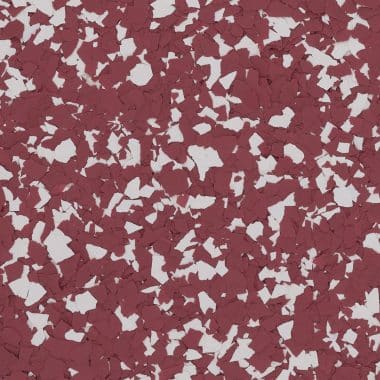
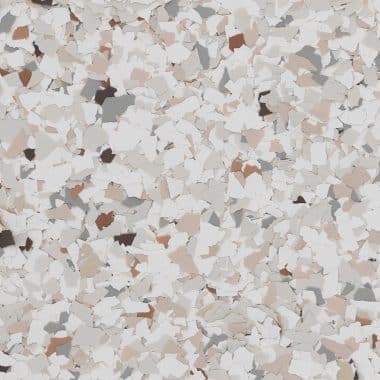
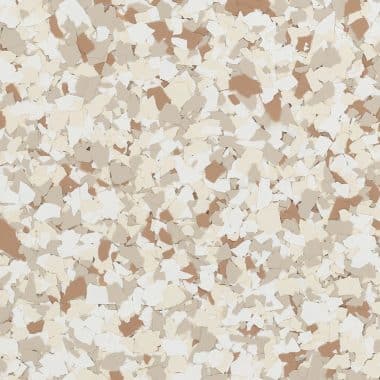
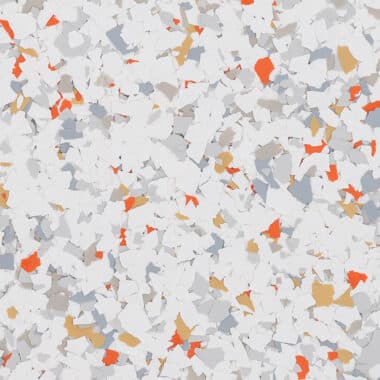
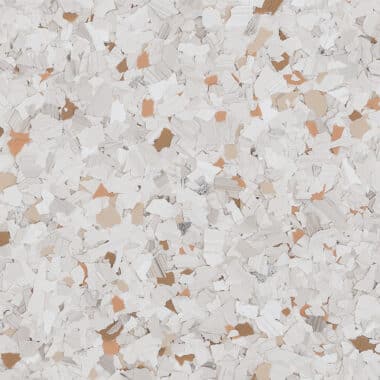
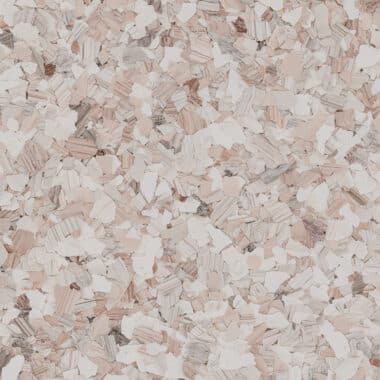
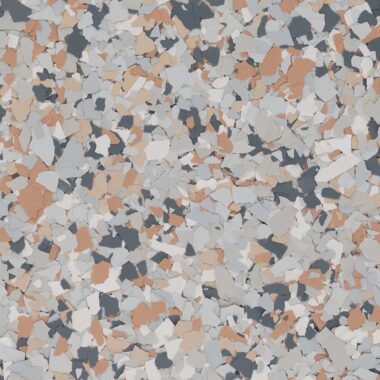
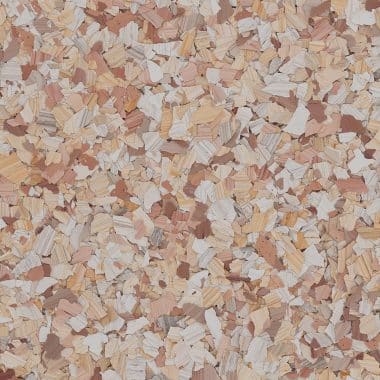
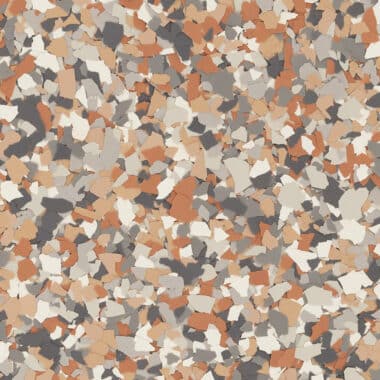
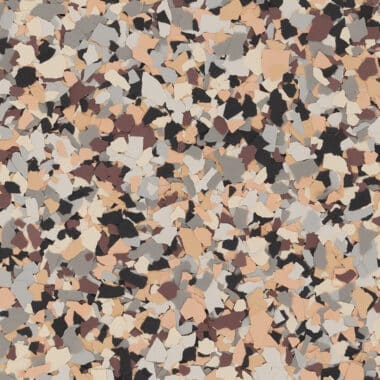
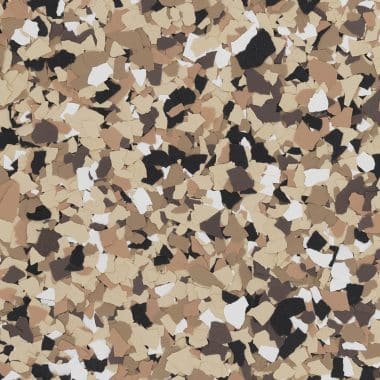
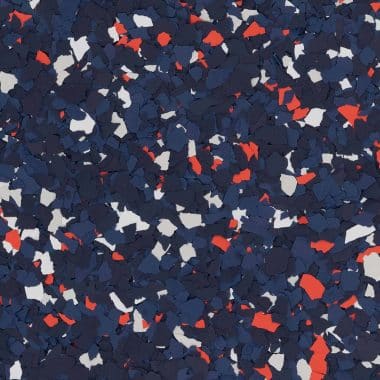
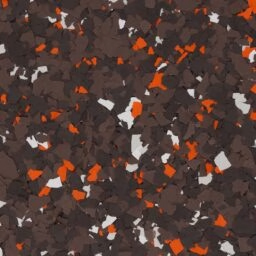
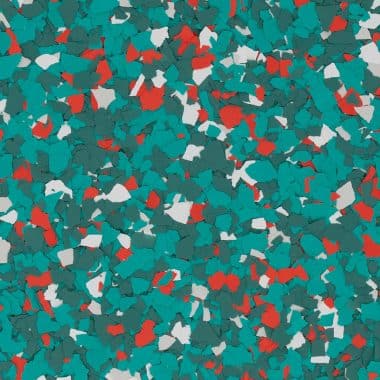
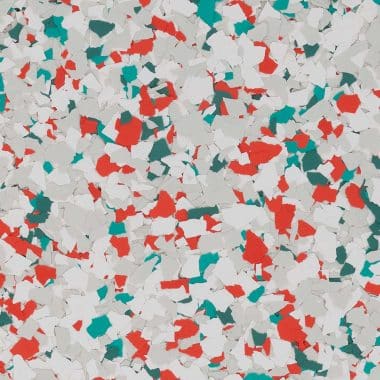
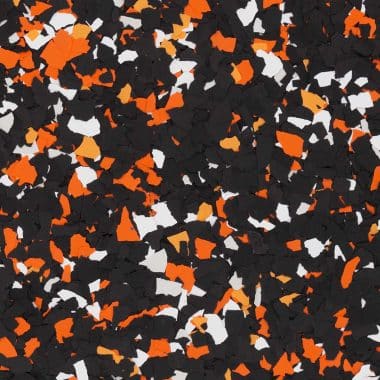
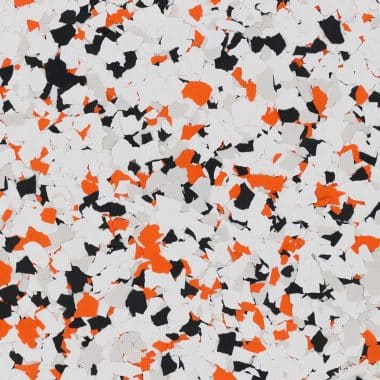
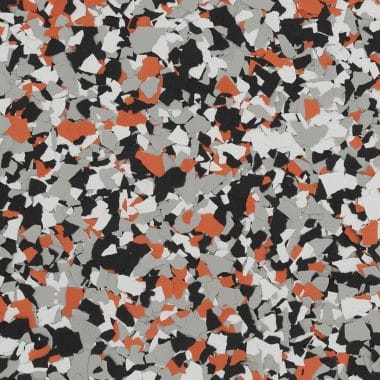
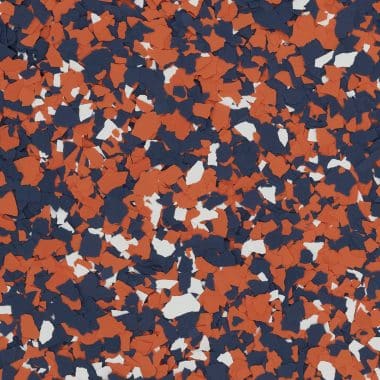
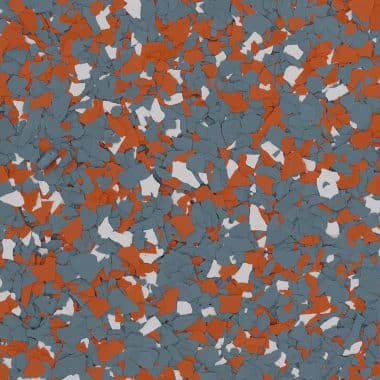
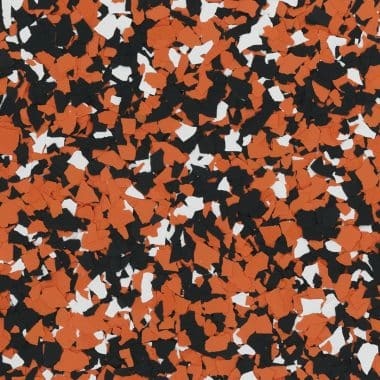
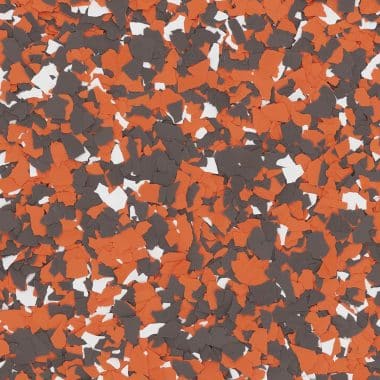
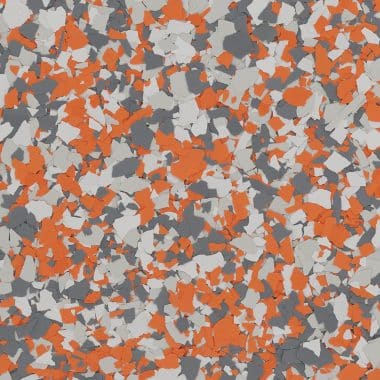
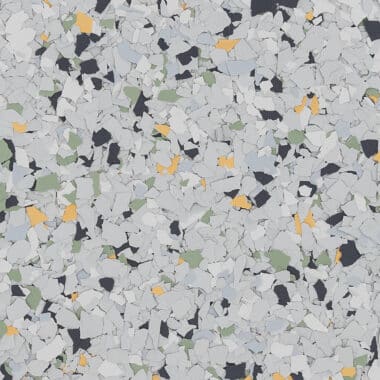
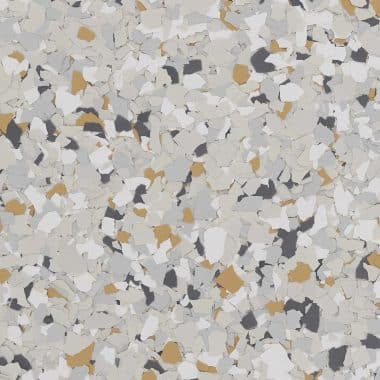
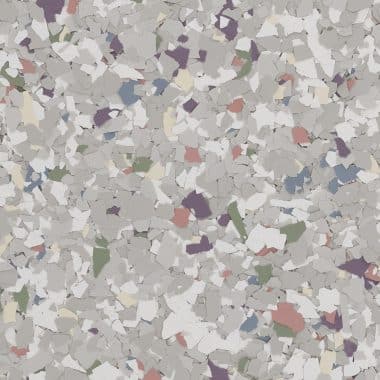
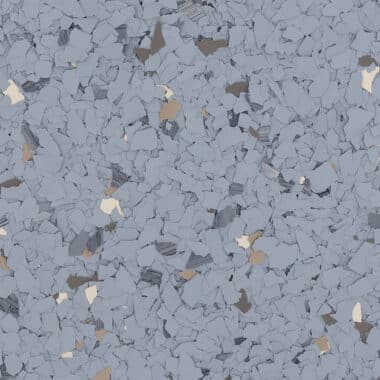
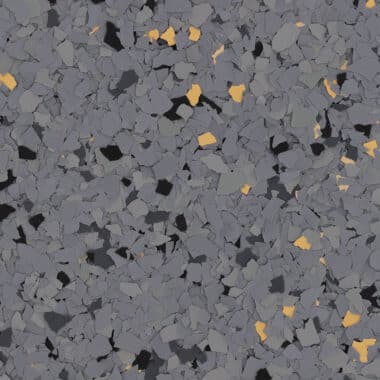
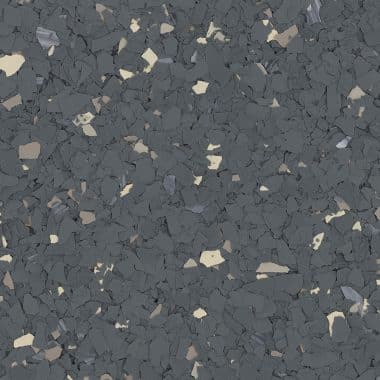
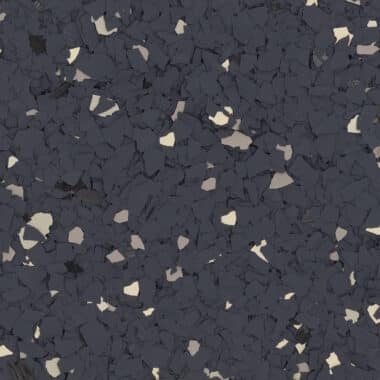
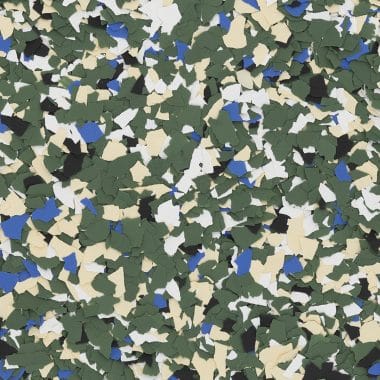
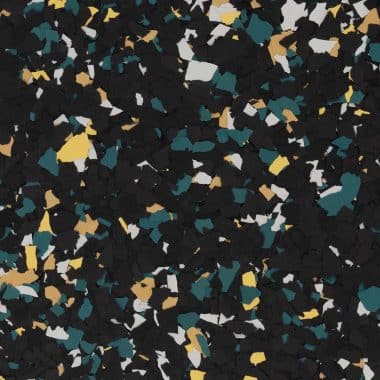
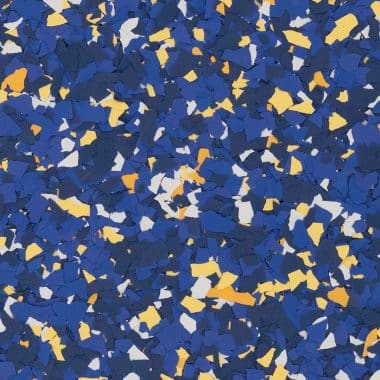
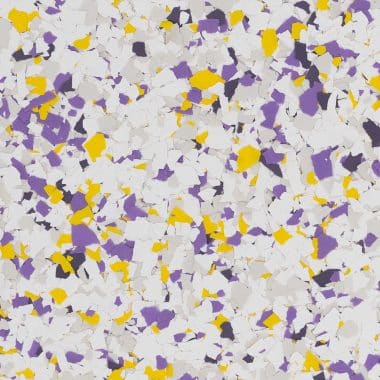
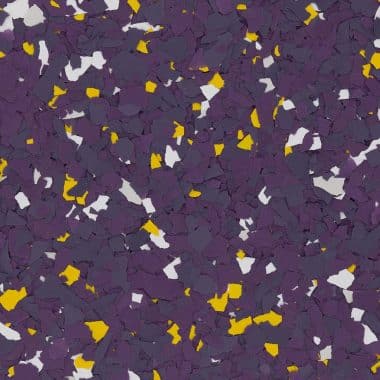
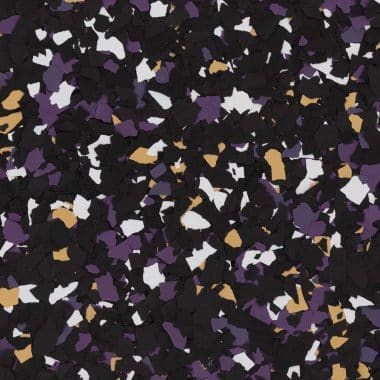
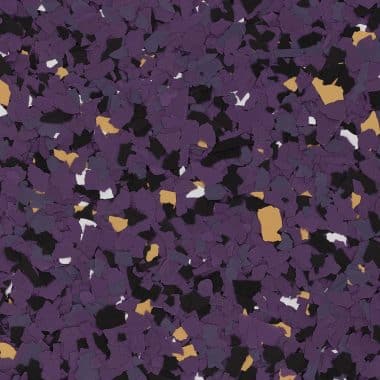
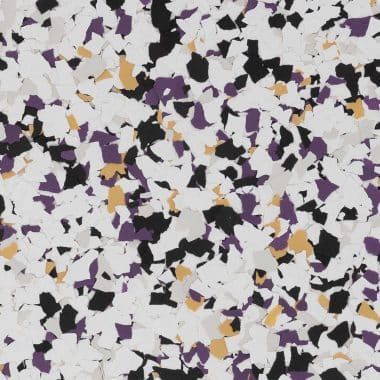
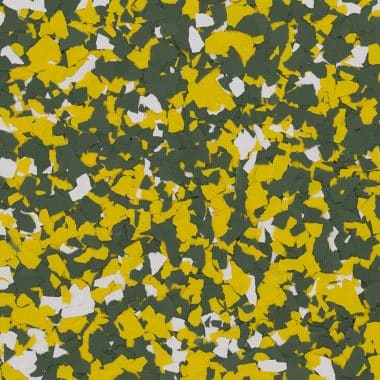
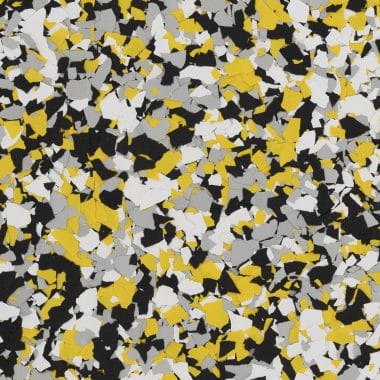
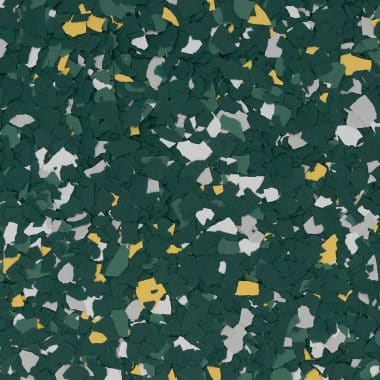
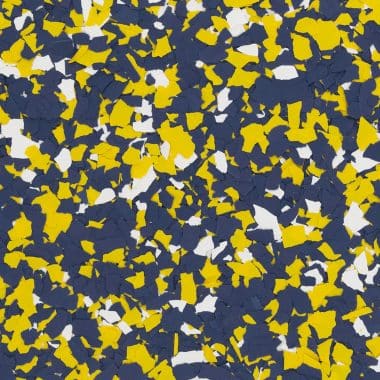
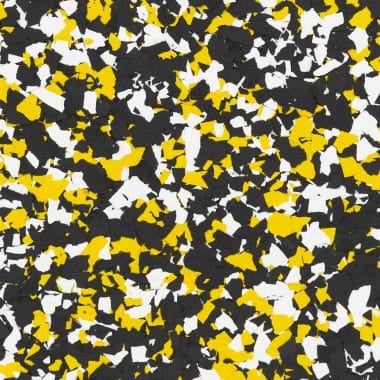
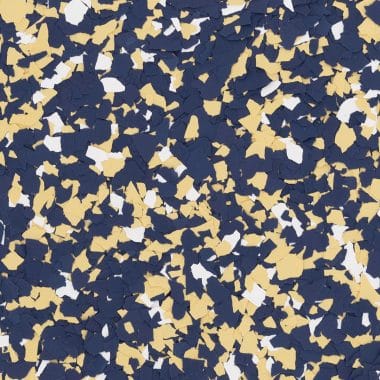
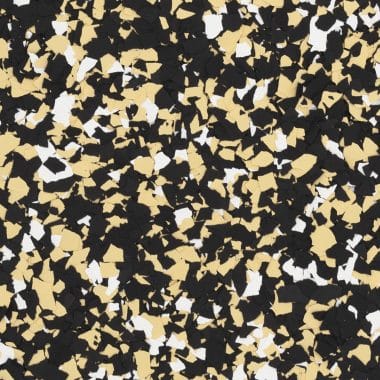
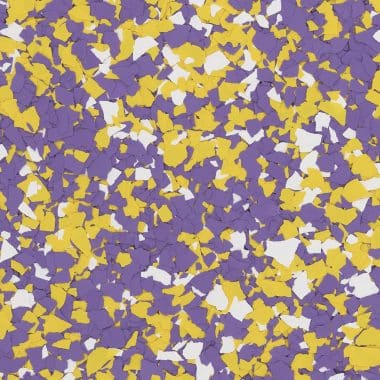
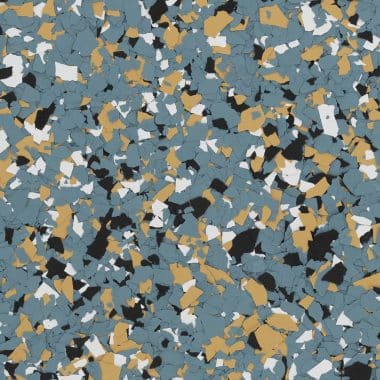
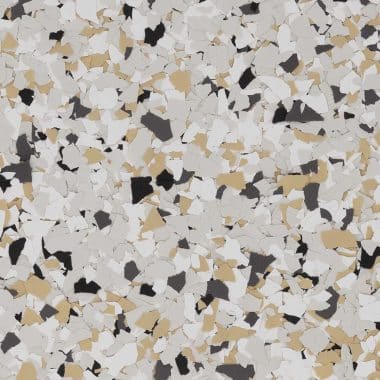
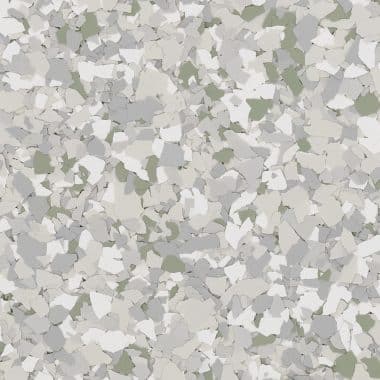
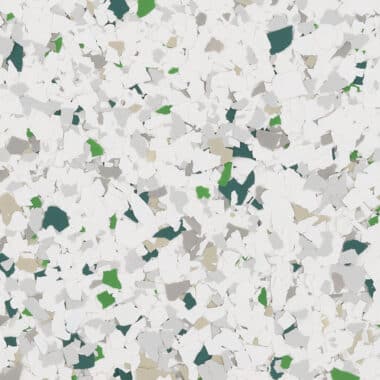
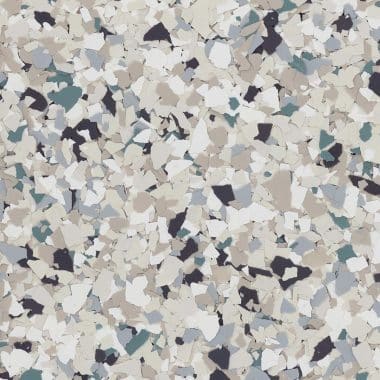
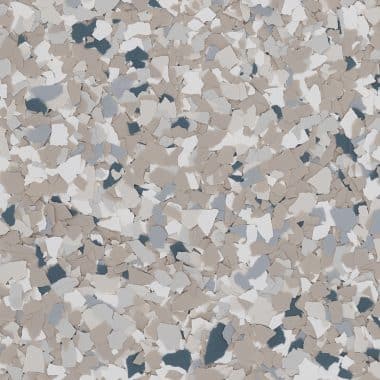
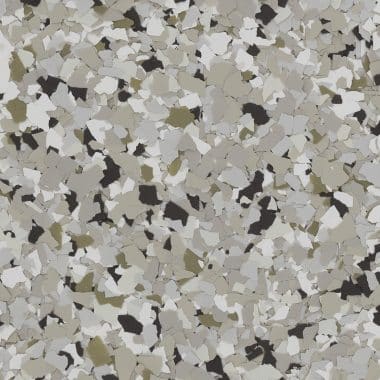
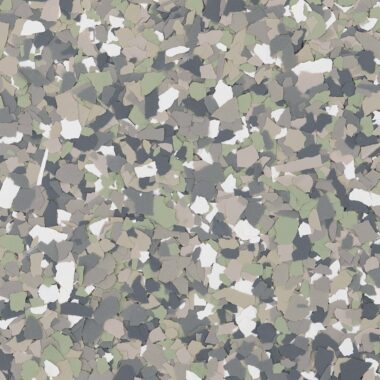
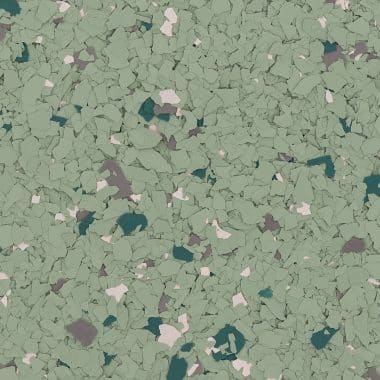
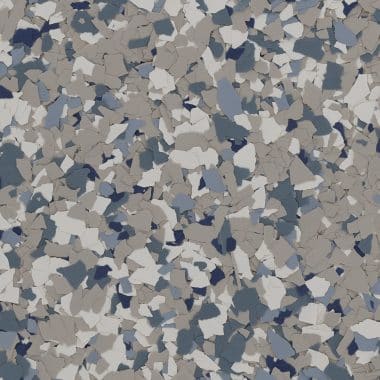
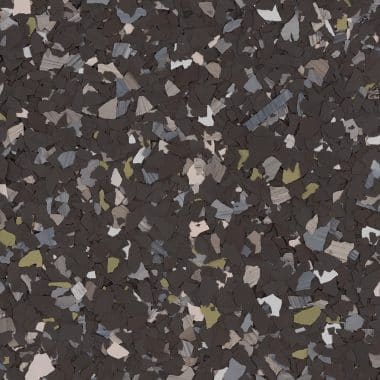
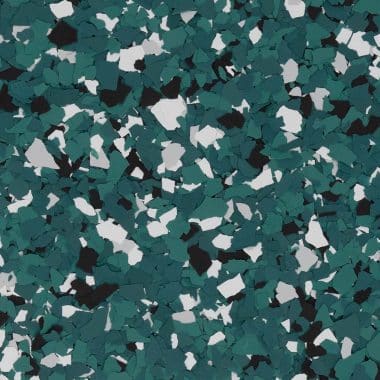
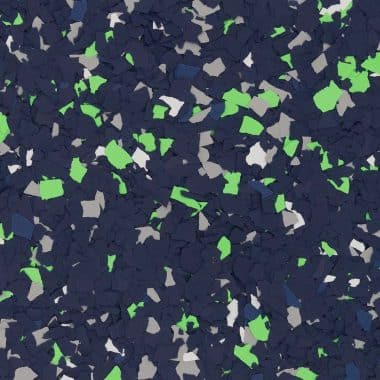
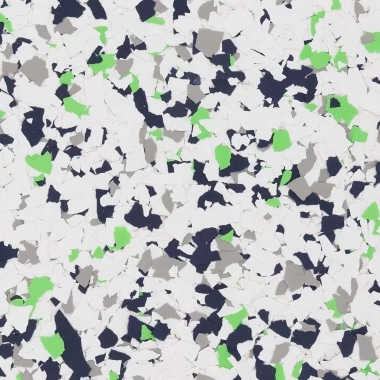
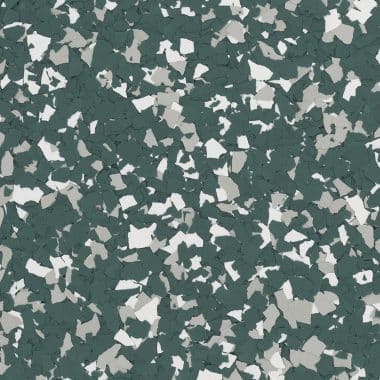
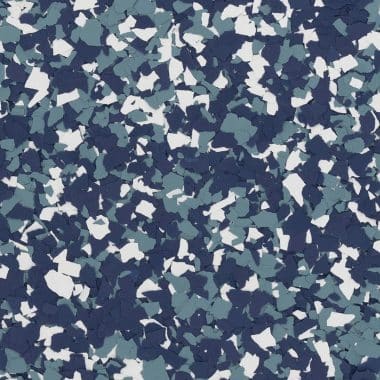
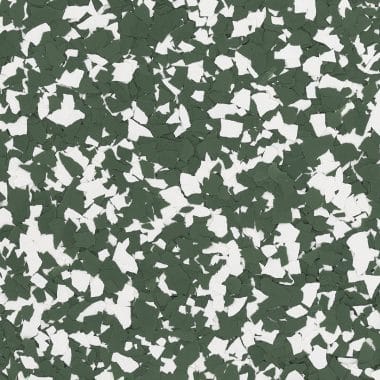
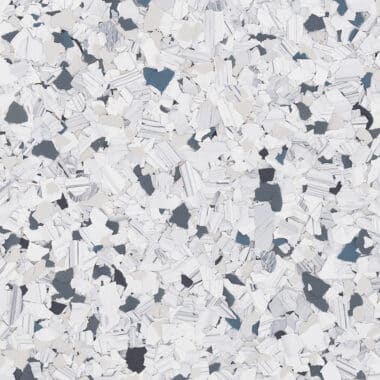
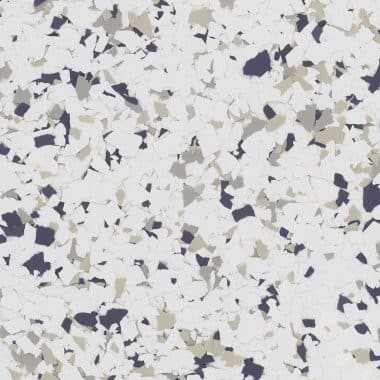
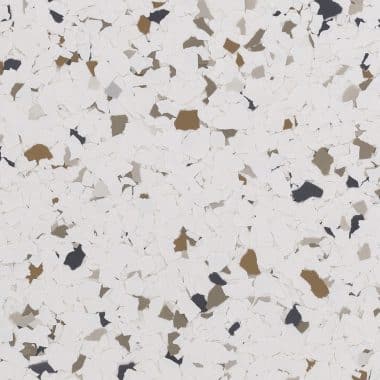
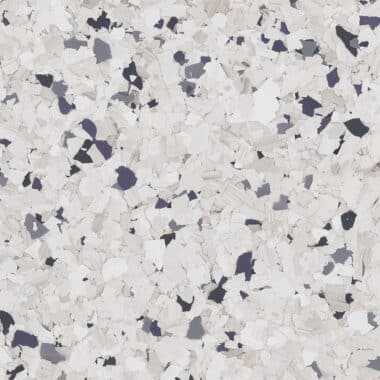
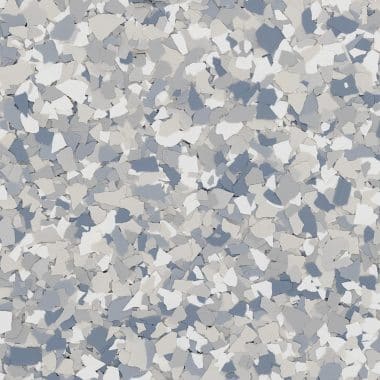
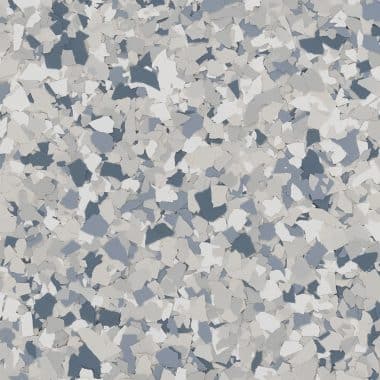
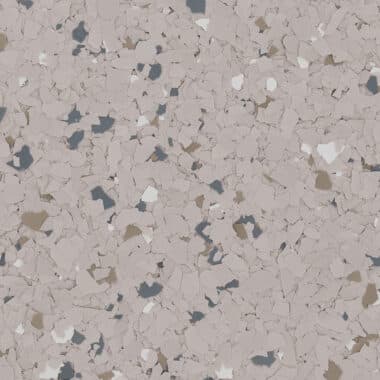
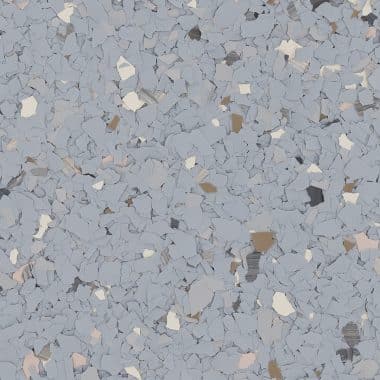
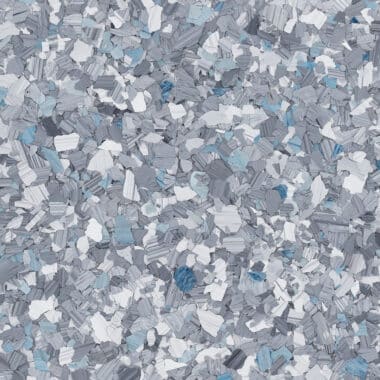
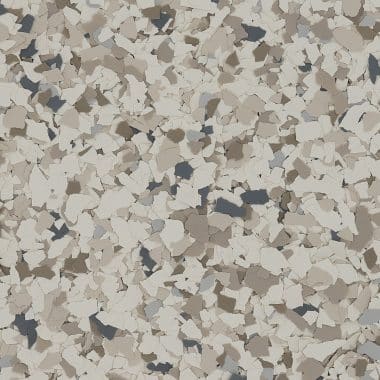
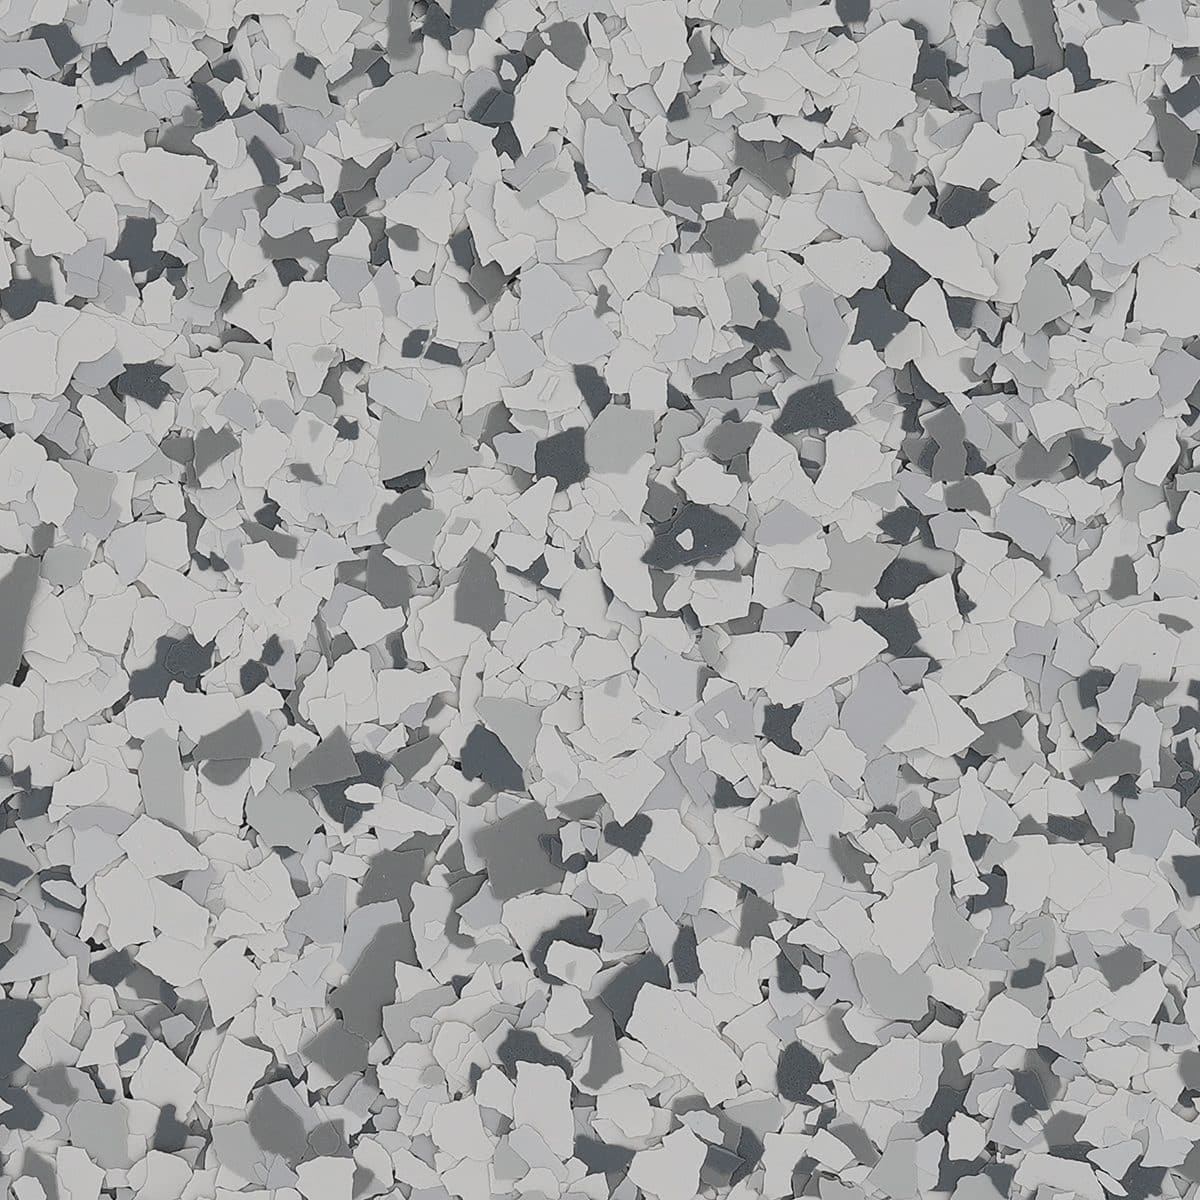
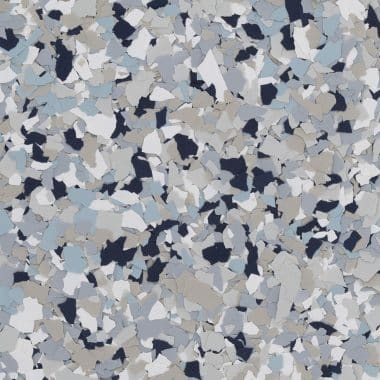
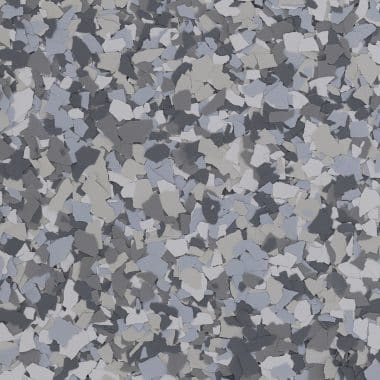
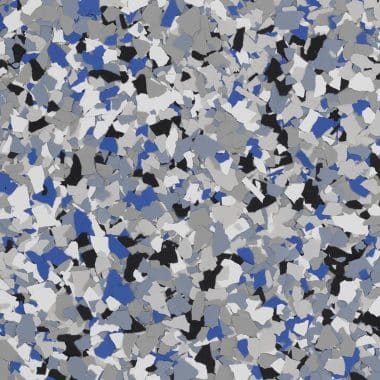
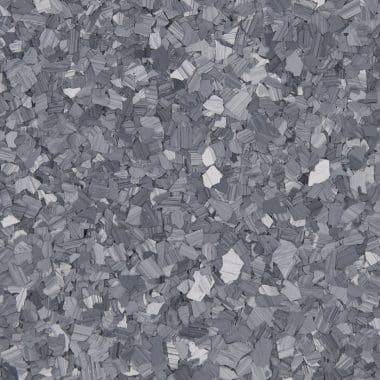
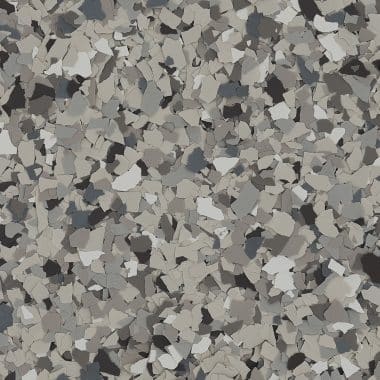
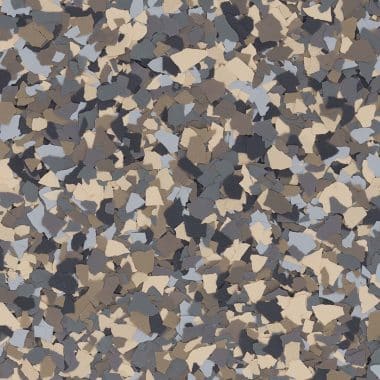
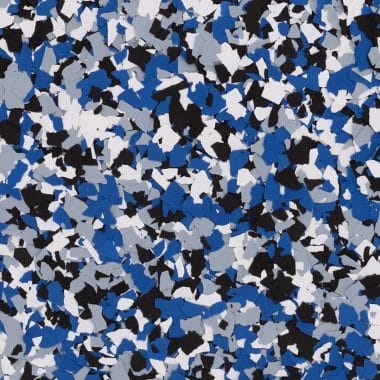
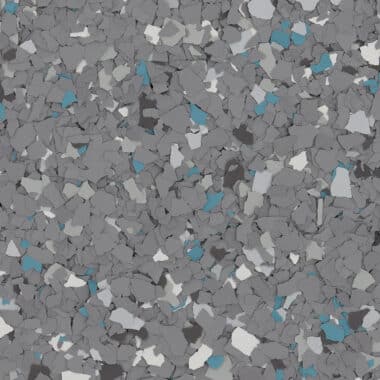
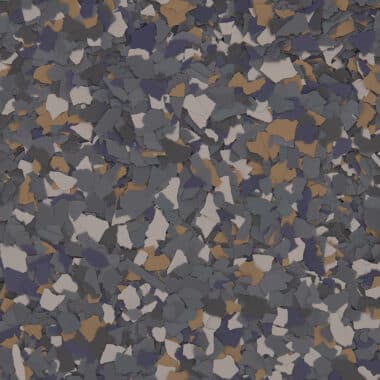
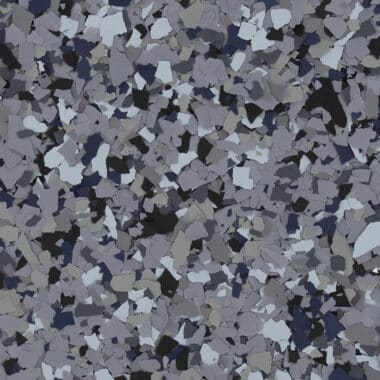
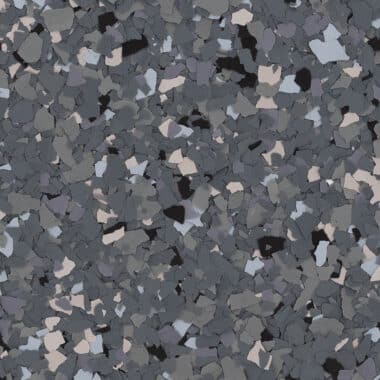
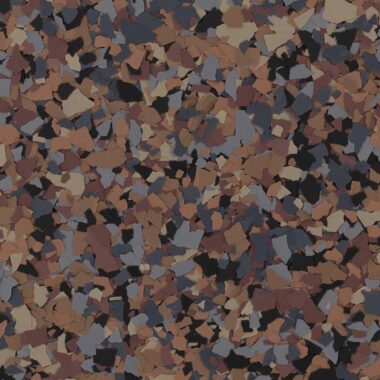
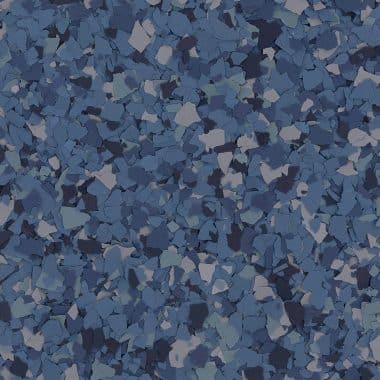
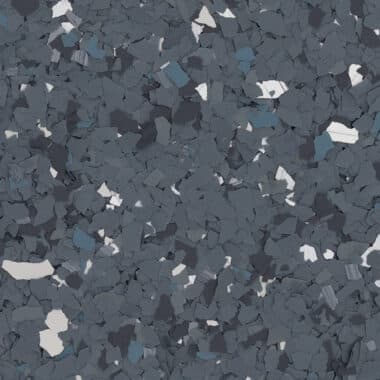
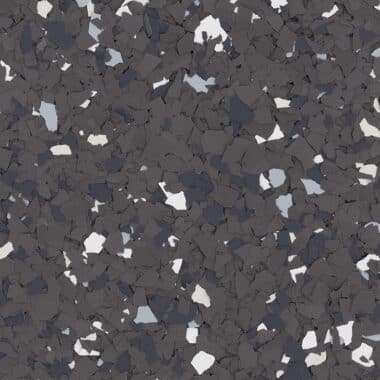
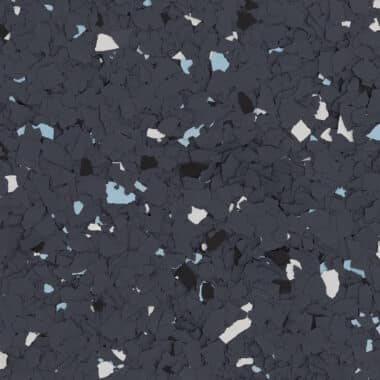
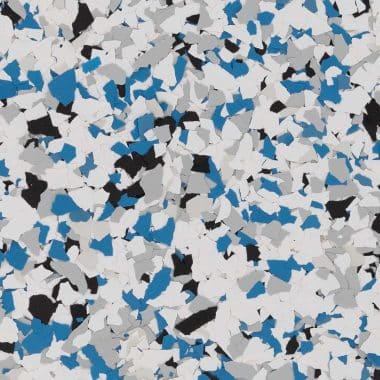
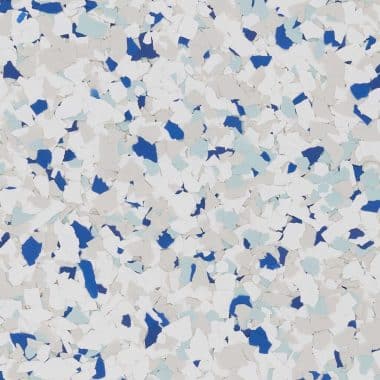
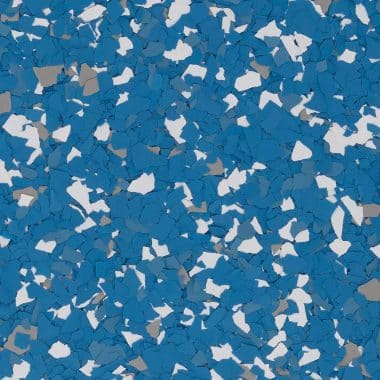
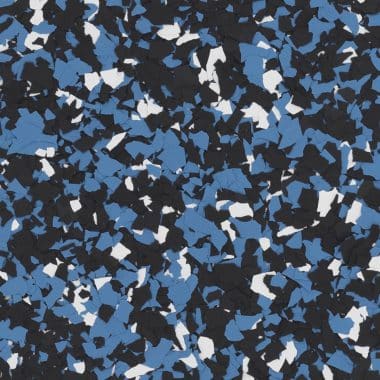
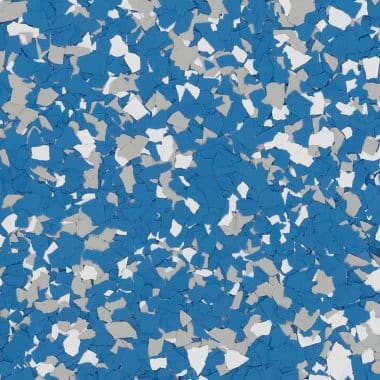
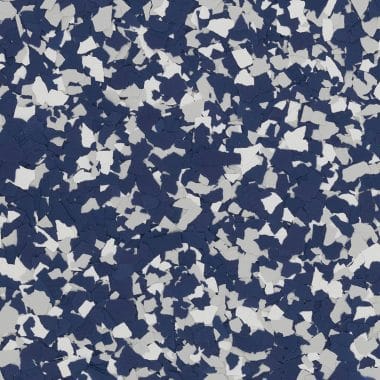
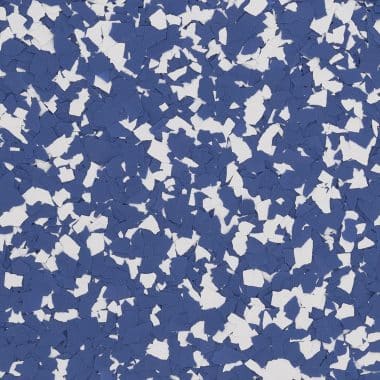
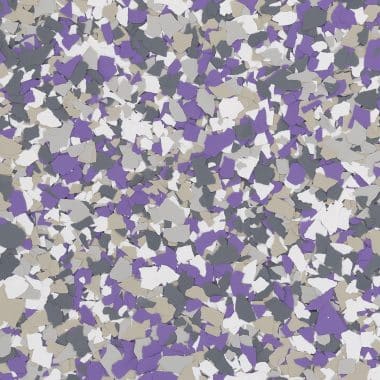
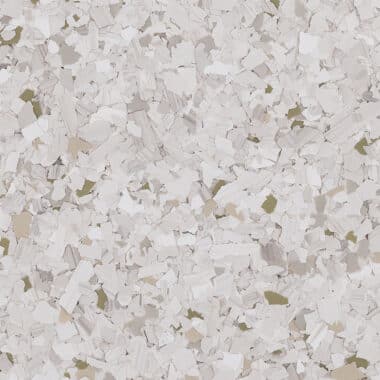
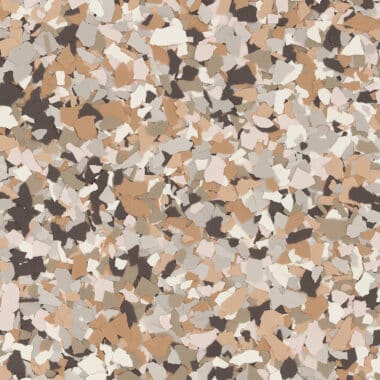
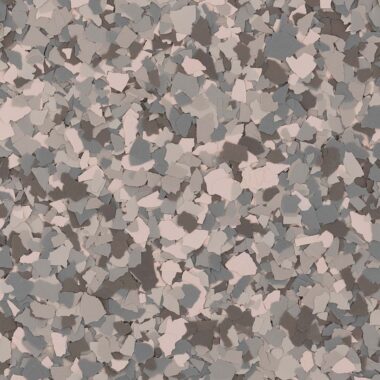
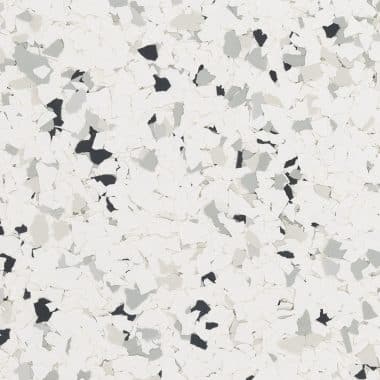
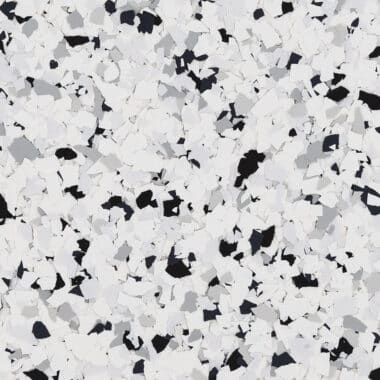
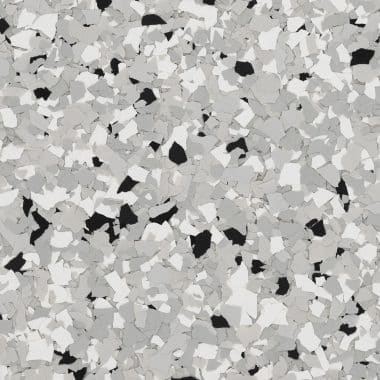
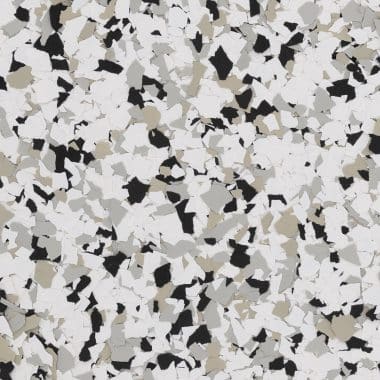
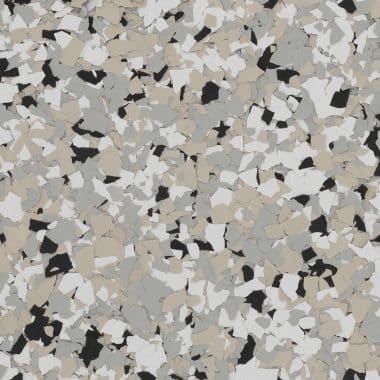
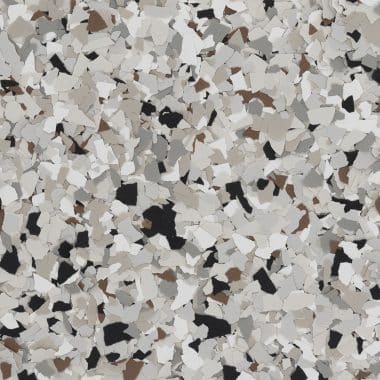
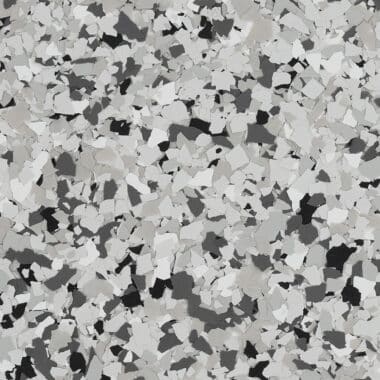
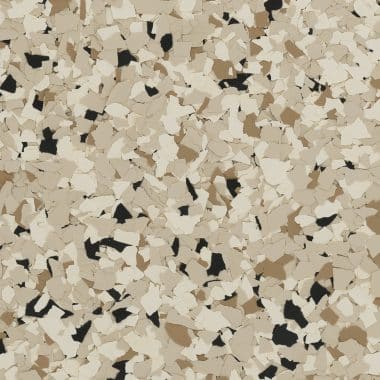
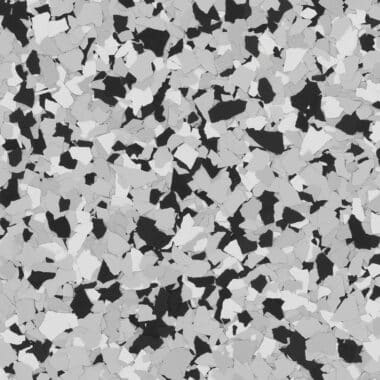
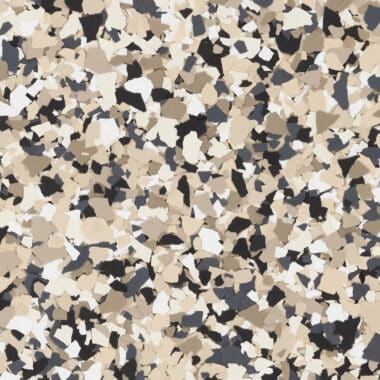
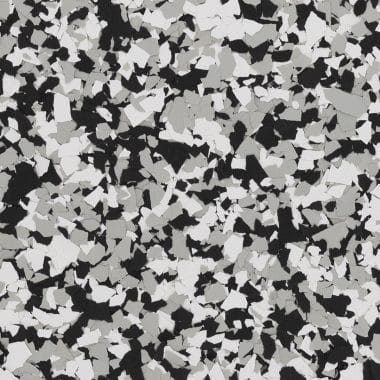
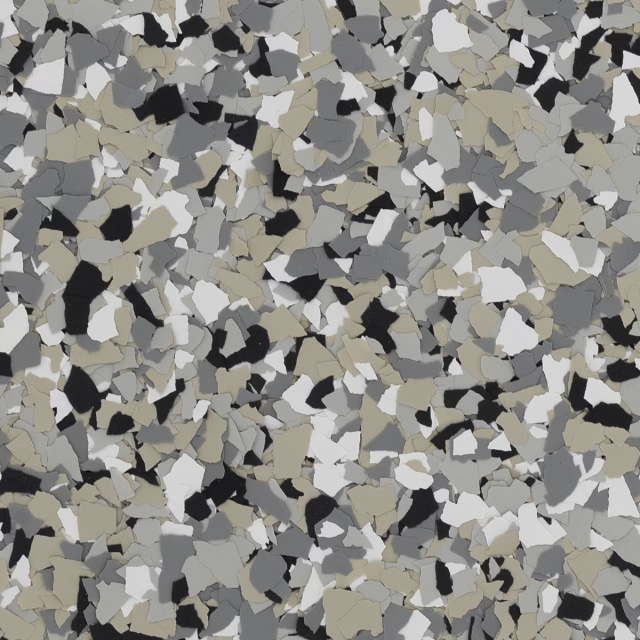
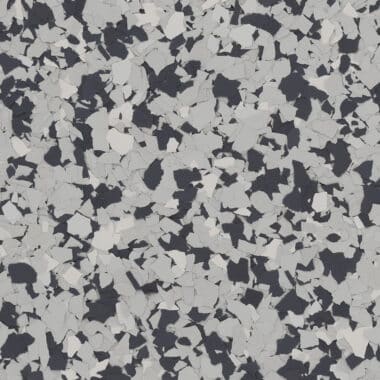
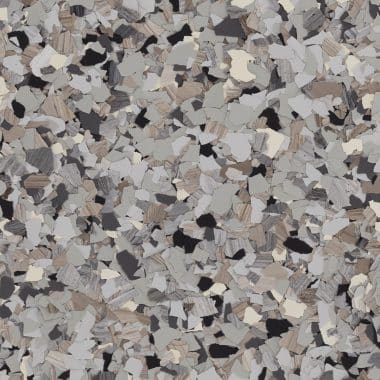
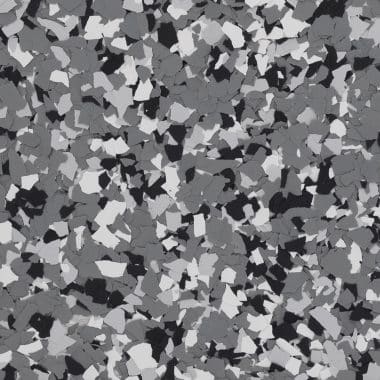
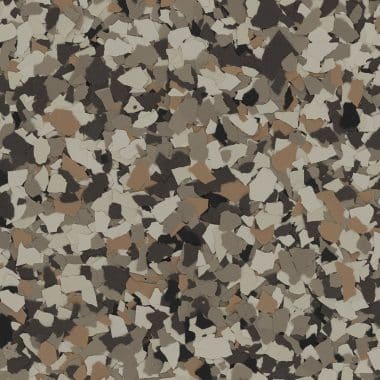
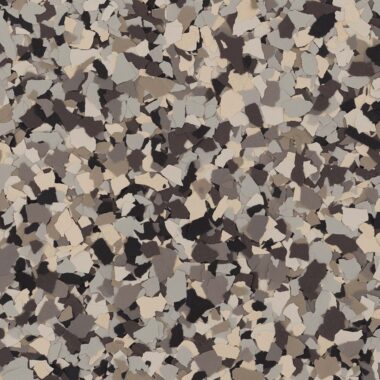
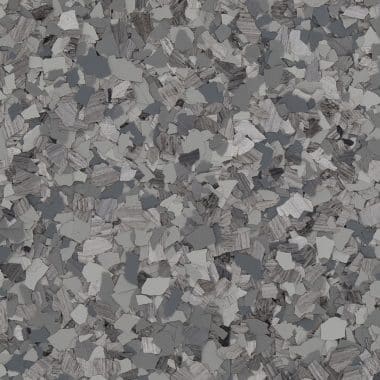
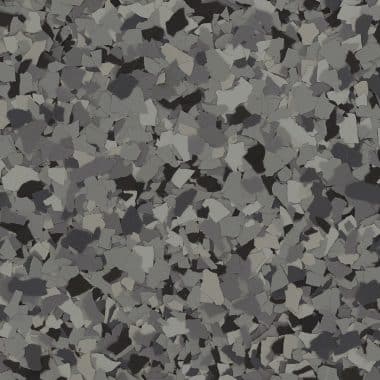
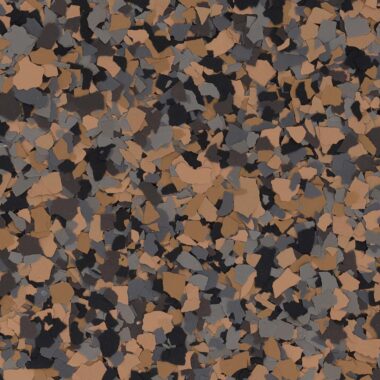
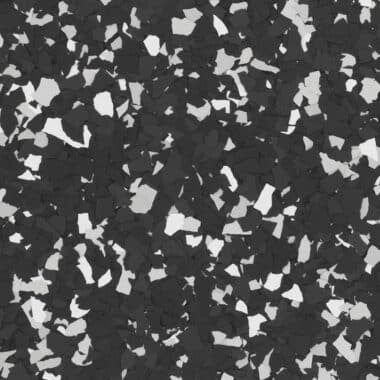
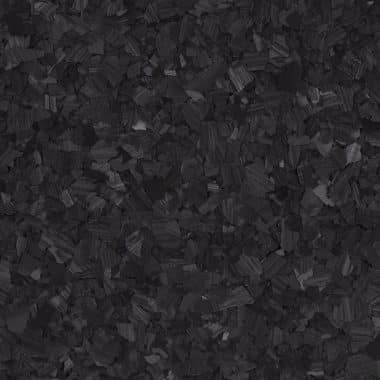
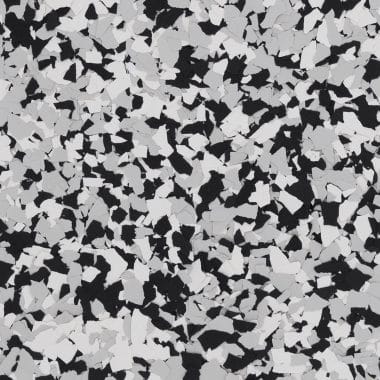
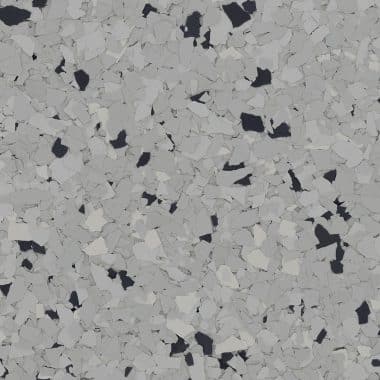
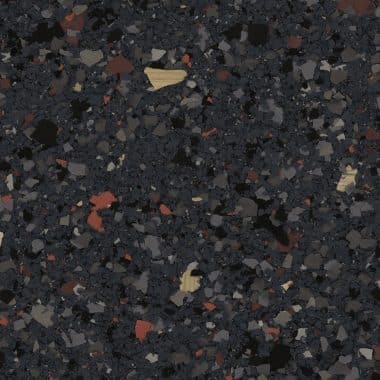
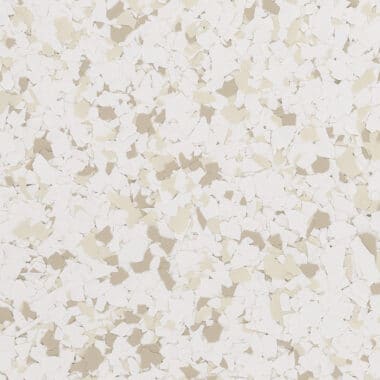
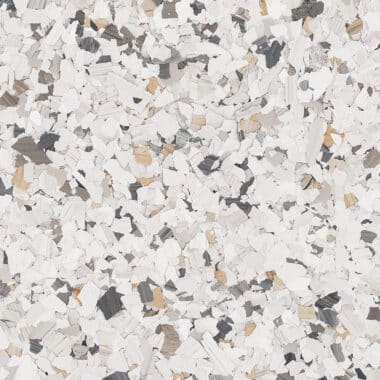
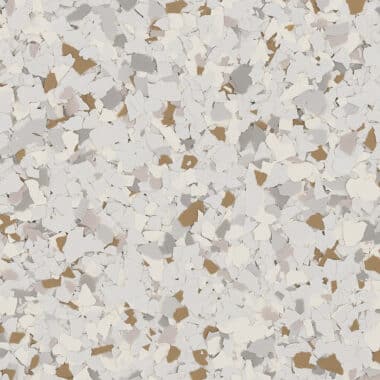
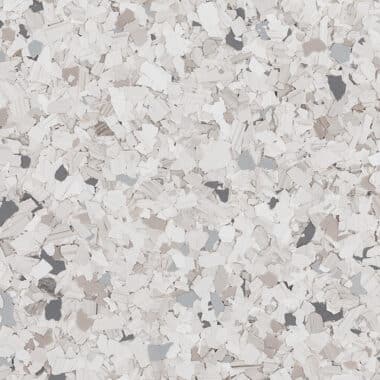
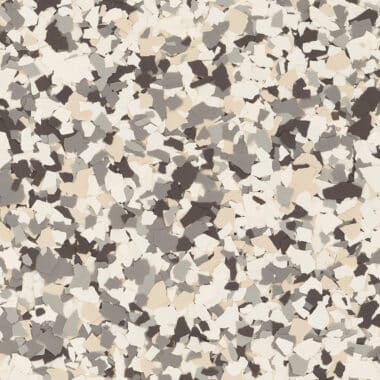
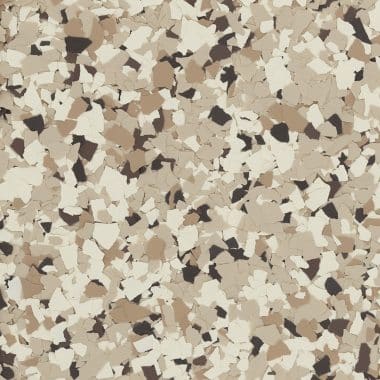
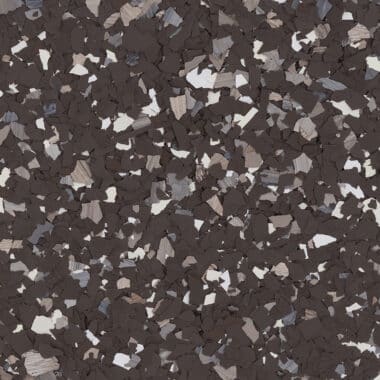
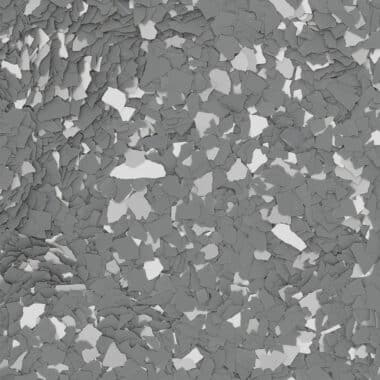
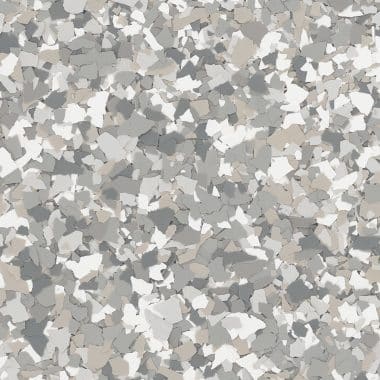
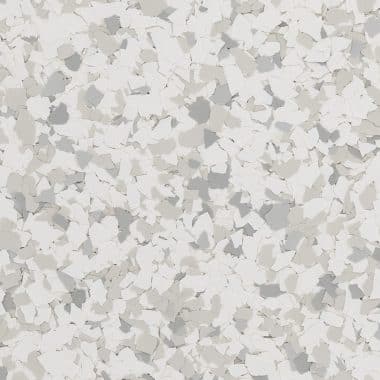
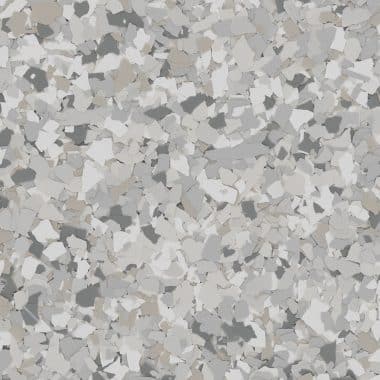
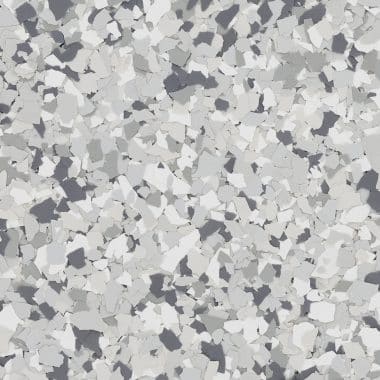
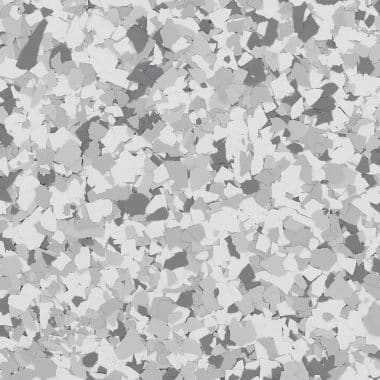
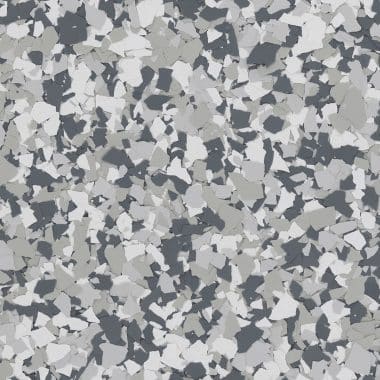
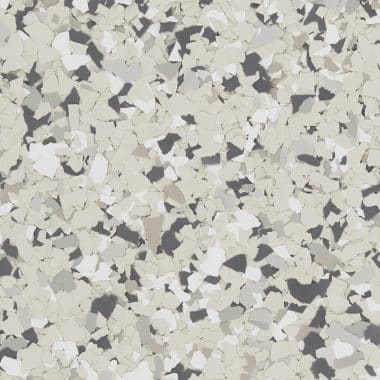
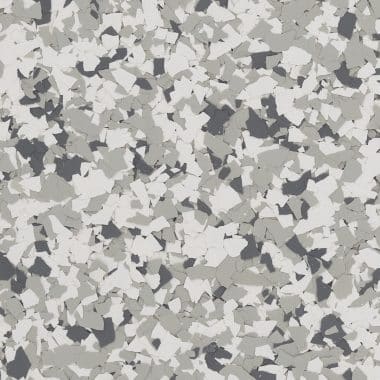
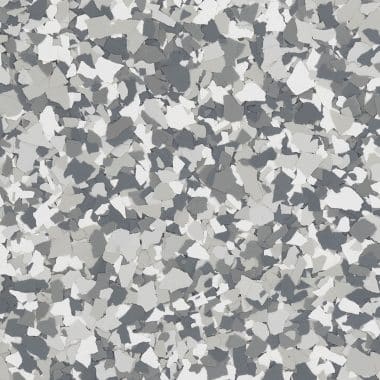
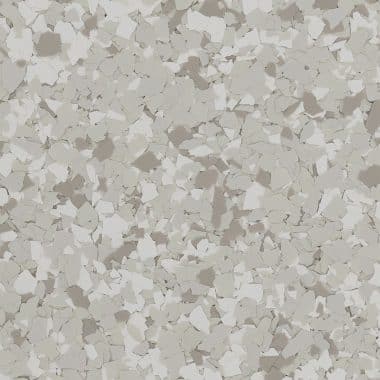
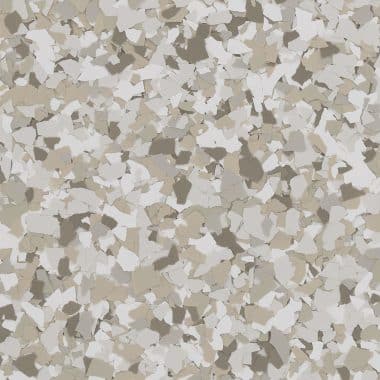
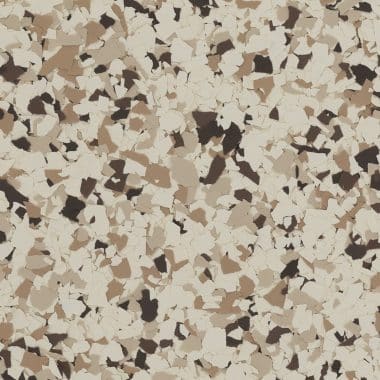
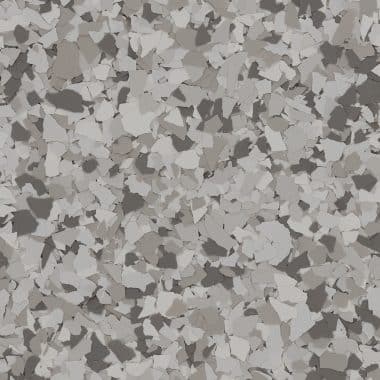
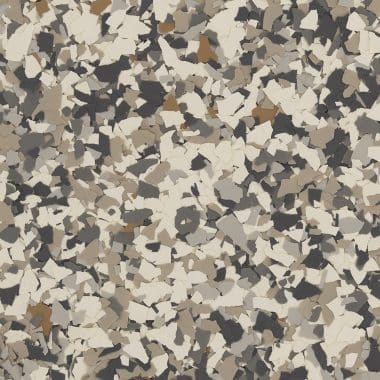
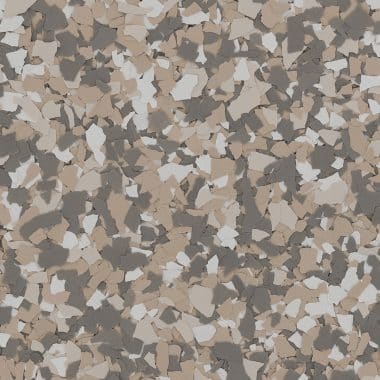
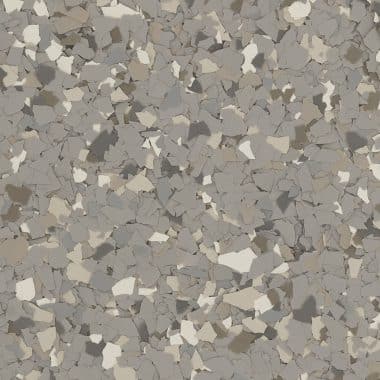
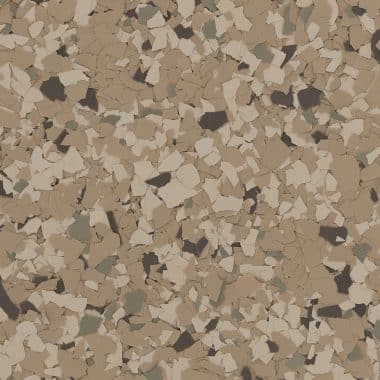
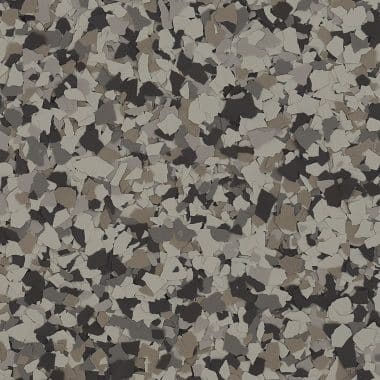
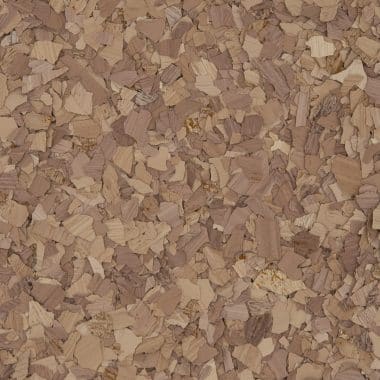
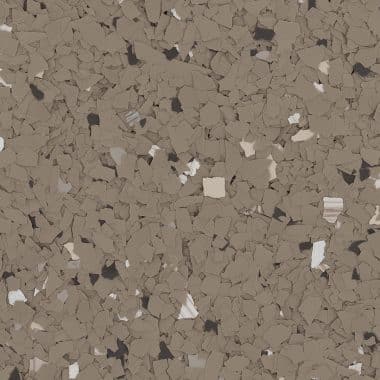
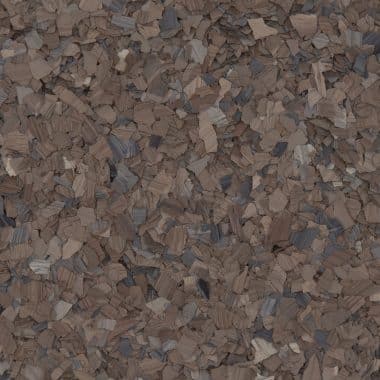
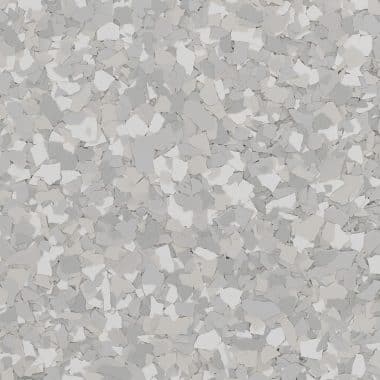
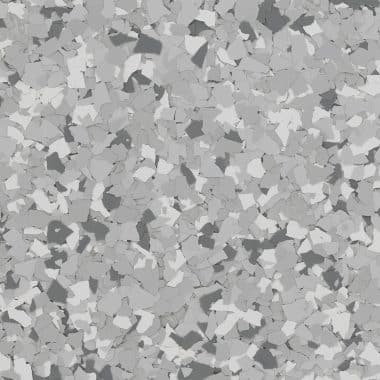
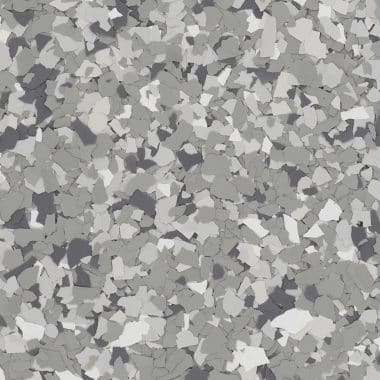
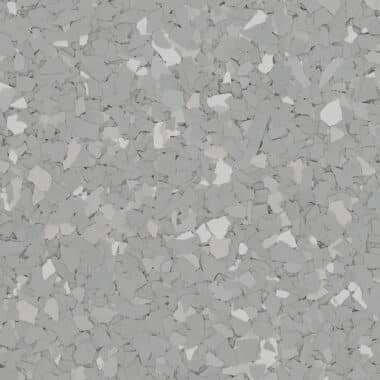
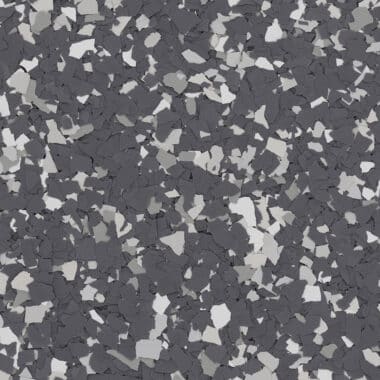
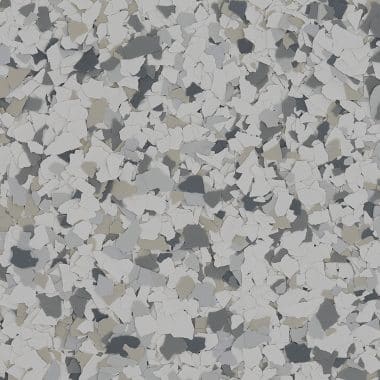
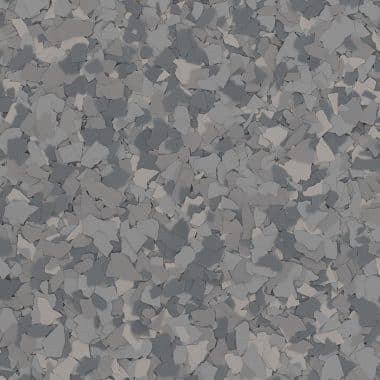
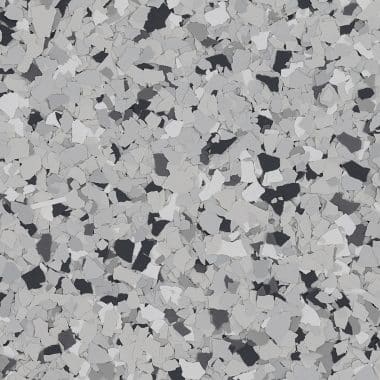
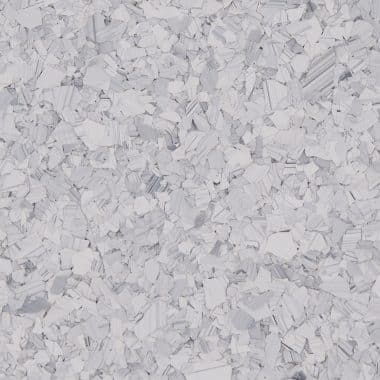
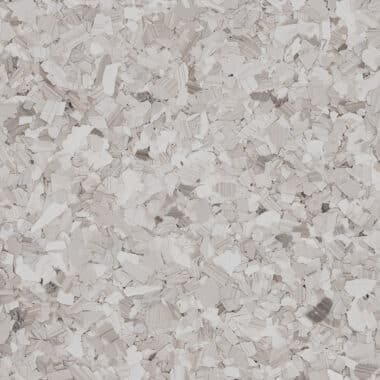
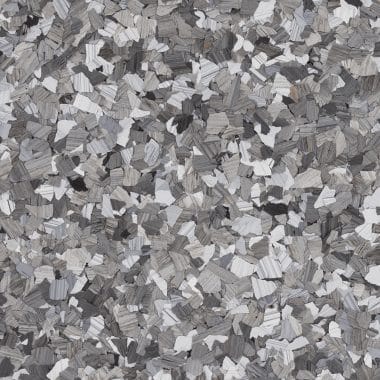
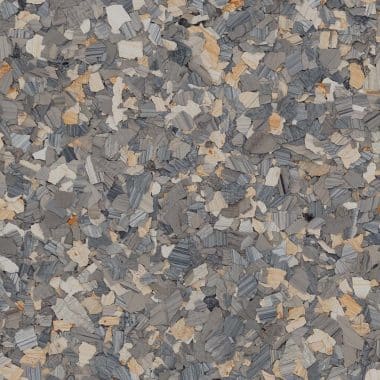
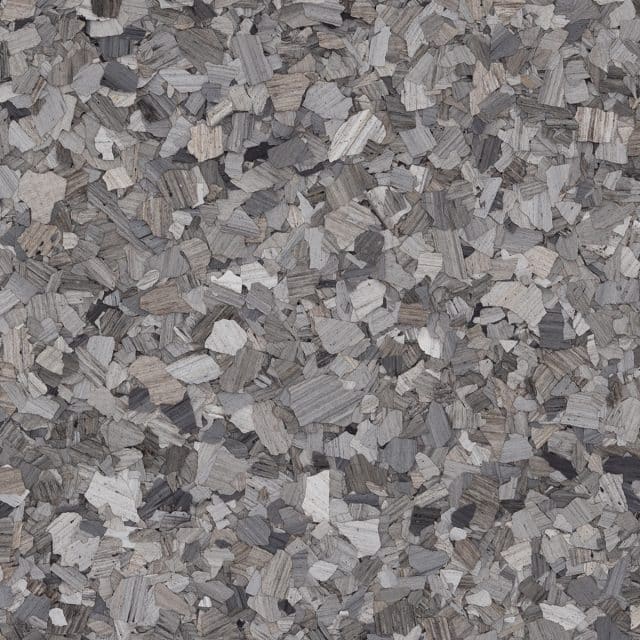
Polymer Flake is a truly customizable design solution. Our unique approach to color and sizing allows you to economically personalize your floor and enhance everyday spaces.
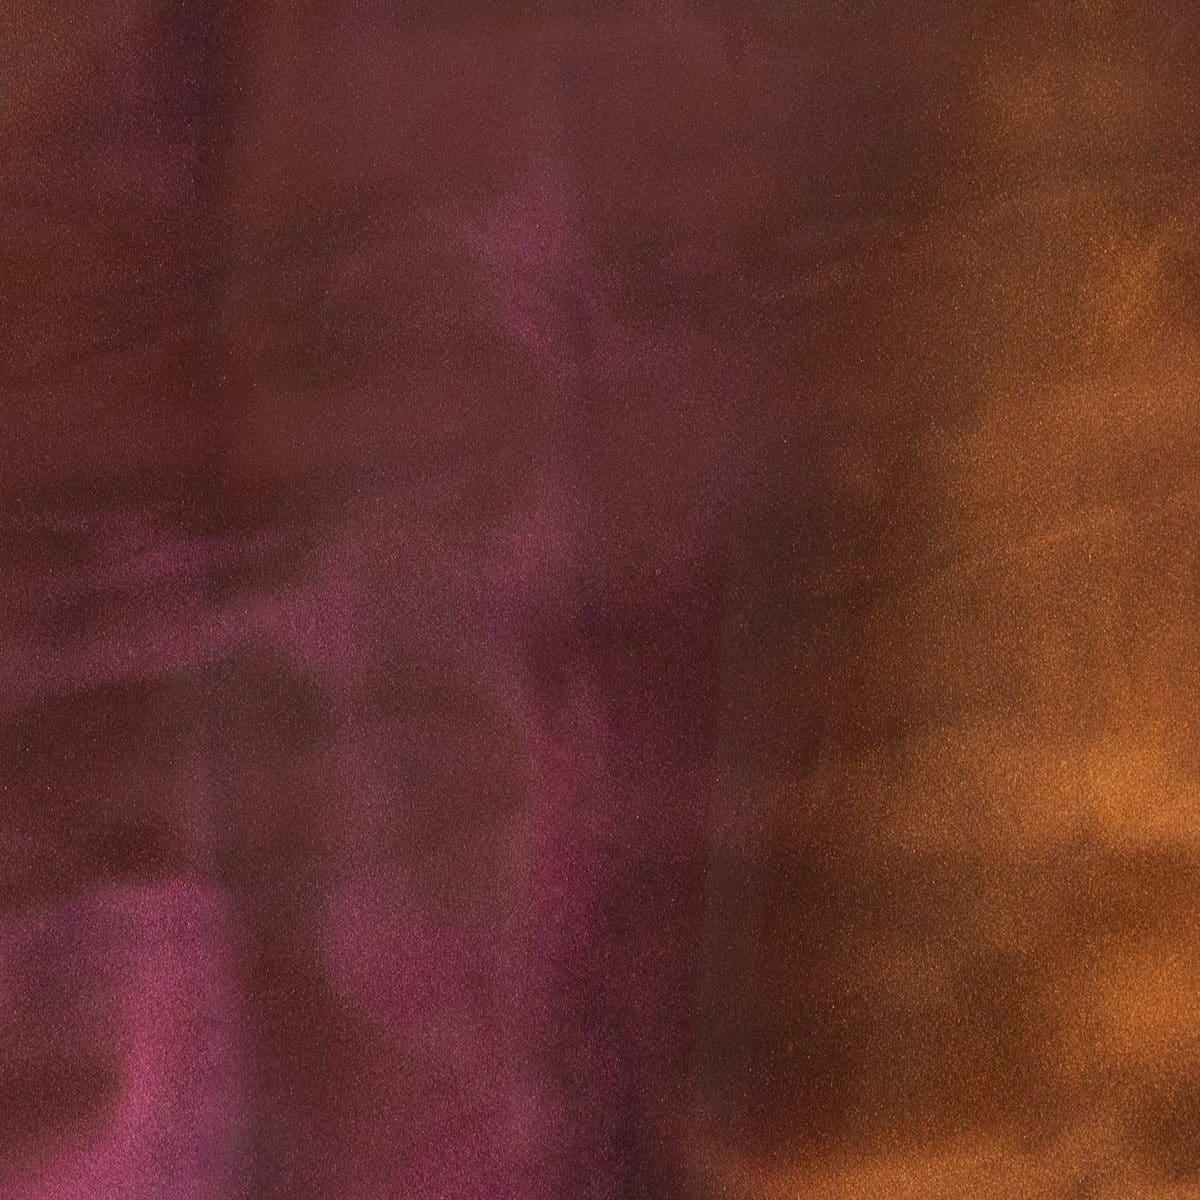
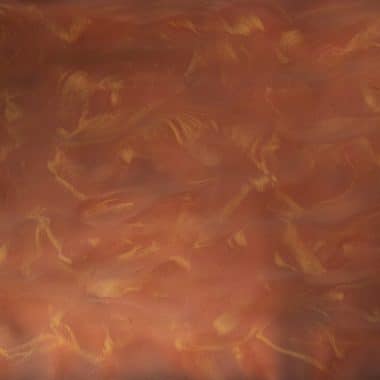
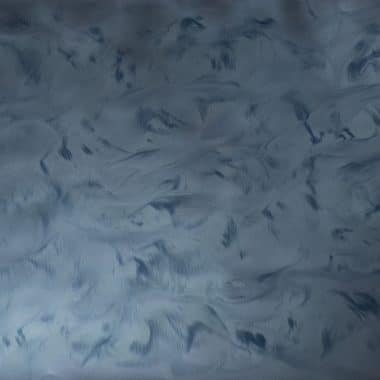
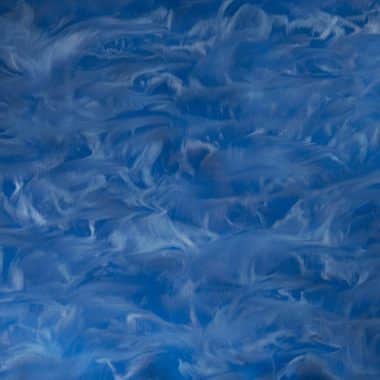
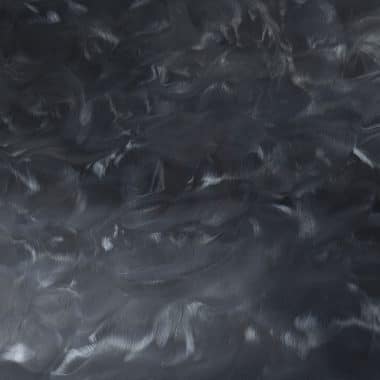
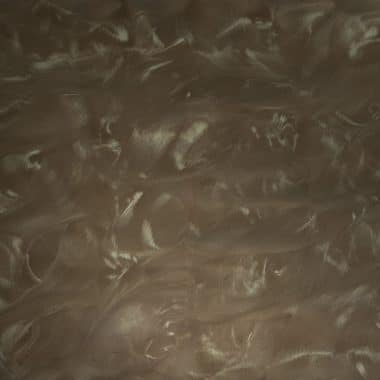
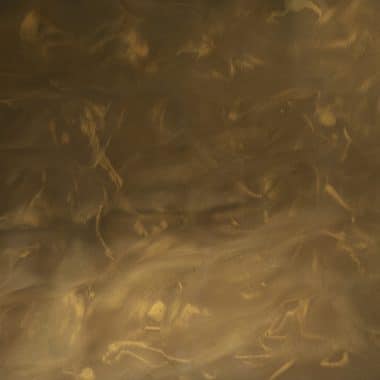
Pearlescent Pigment is designed to be mixed into high-performance coatings to create unique and vibrant color patterns. The smooth finish of Pearlescent Pigment floors provides both seamless protection and a decorative statement.
Red
Orange
Yellow
Green
Blue
White
Gray
Brown
Color Shift
Pairings
Sangria
Americana
Cabana
Bikini
Tamarin
Starfish & Coral
Ginger
Coral
Mango
Mandarin
Starfish
Cabana
Lager
Betta
Tamarin
Starfish & Coral
Daydream
Papaya
Banana
Palapa
Sandbar
Tetra
Kona
Pier
Palm
Seaweed
Avocado
Margarita
Sunset
Daydream
Bamboo
Tetra
Toucan
Margarita & Kona
Ocean
Azure
Curacao
Maui
Caribbean
Toucan
Macaw
Reef
Pearl & Ocean
Azure & Ocean
Maui, Caribbean & Great White
Pearl
Great White
Sparkle Additive
Whale & Pearl
Great White, Caviar & Dolphin
Pearl & Ocean
Maui, Caribbean & Great White
Azure
Curacao
Pier
Palm
Sunset
Daydream
Overcast
Guava
Caviar
Whale
Manatee
Dolphin
Pier
Palm
Ginger
Sandal
Cannon
Cabana
Tiki
Shipwreck
Rum
Hammock
Driftwood
Bamboo
Palapa
Sandbar
Overcast
Guava
Sandal & Sandbar
Shipwreck & Lager
Tetra
Toucan
Macaw
Betta
Tamarin
Starfish & Coral
Shipwreck & Lager
Sandal & Sandbar
Margarita & Kona
Maui, Caribbean & Great White
Azure & Ocean
Great White, Caviar & Dolphin
Pearl & Ocean
Whale & Pearl
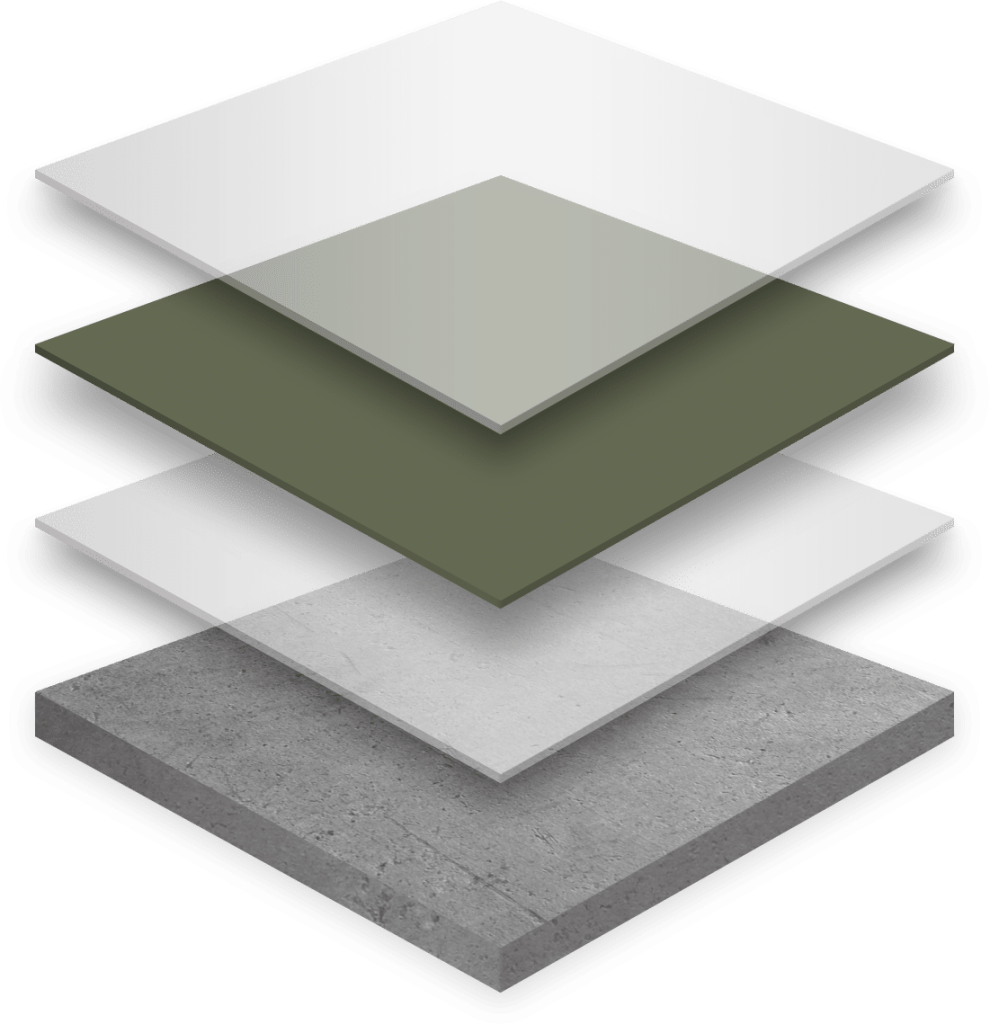
Our Metallic Epoxy Process:
Step 1
Diamond Grind Concrete To Profile It For Proper Bonding (Most Important Step)
A great option for a laundry rooms, sunrooms, outdoor showers, patios & pools.
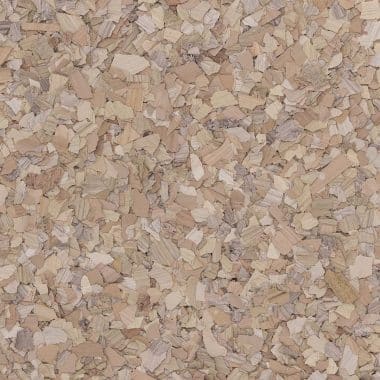
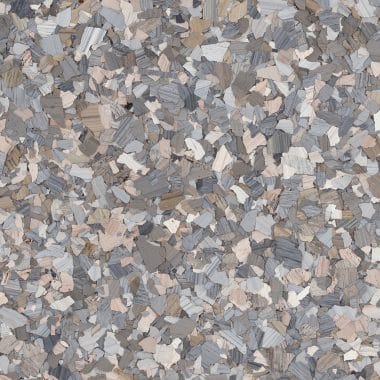
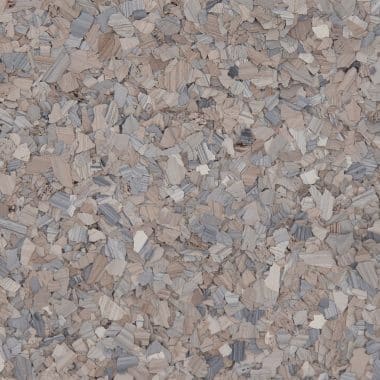
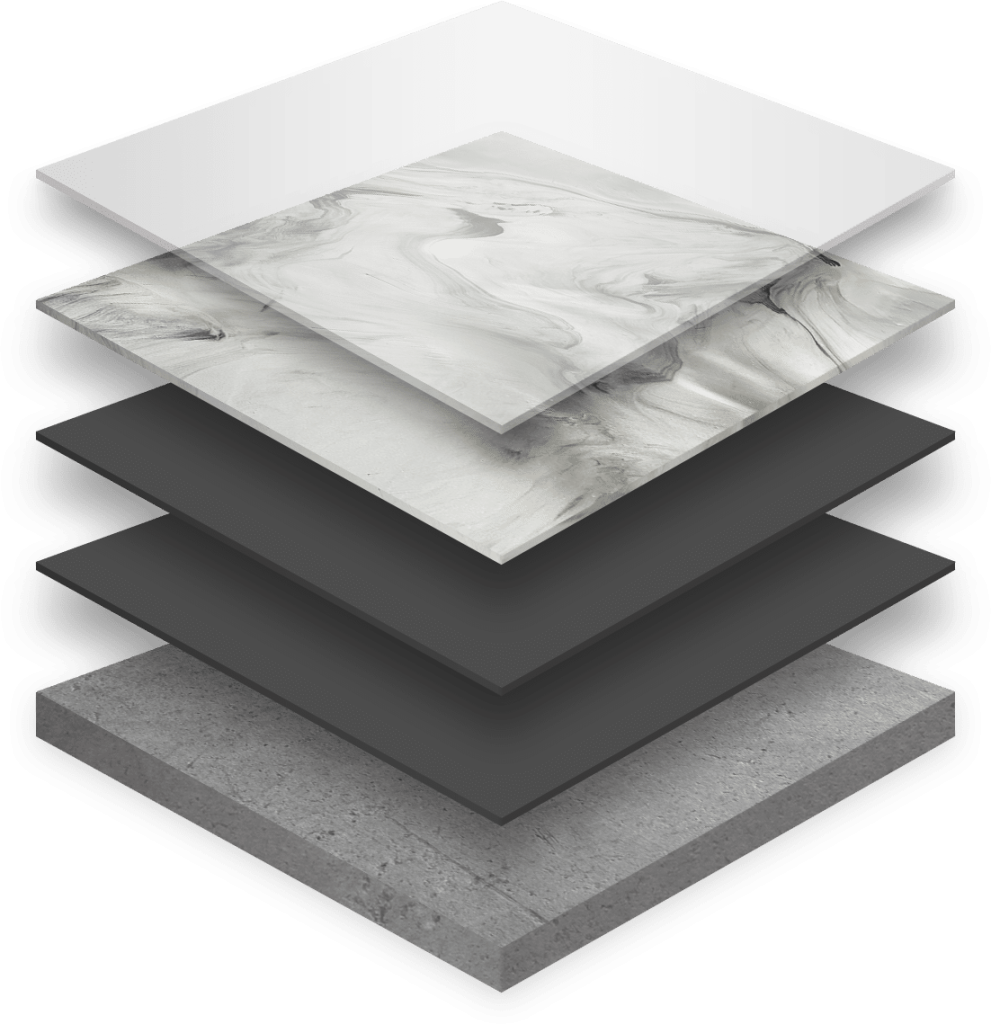
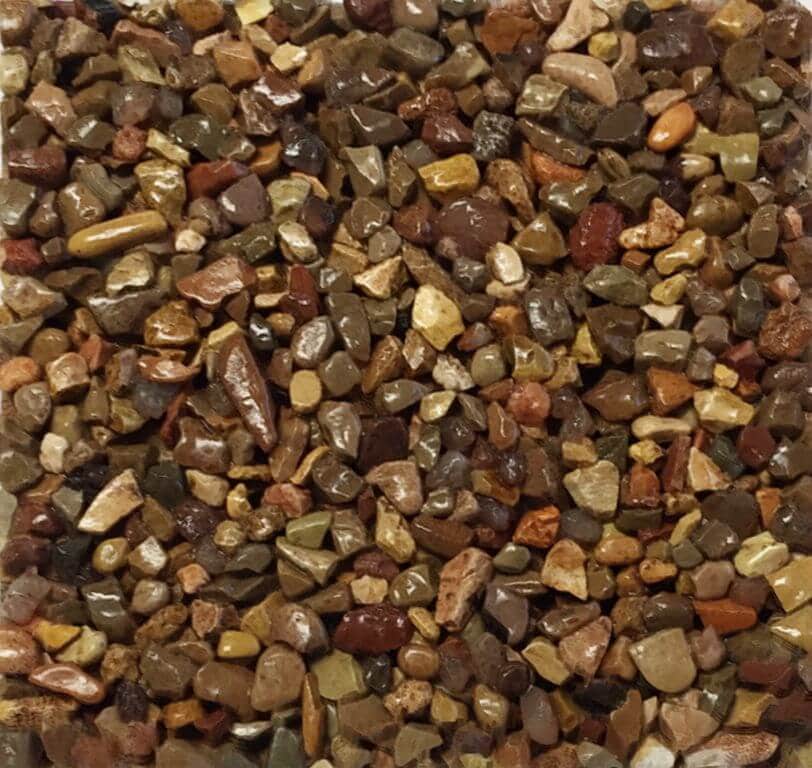
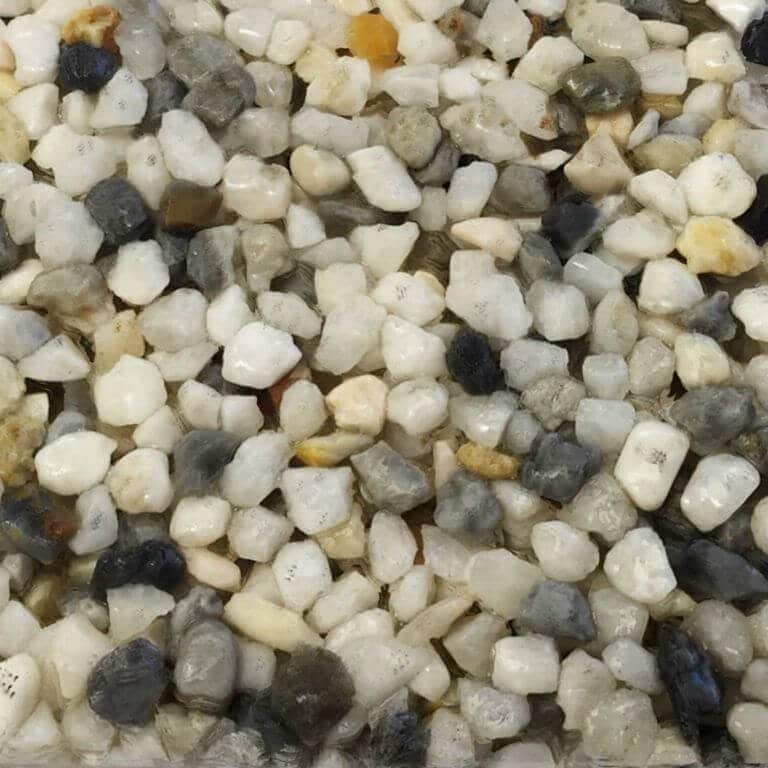
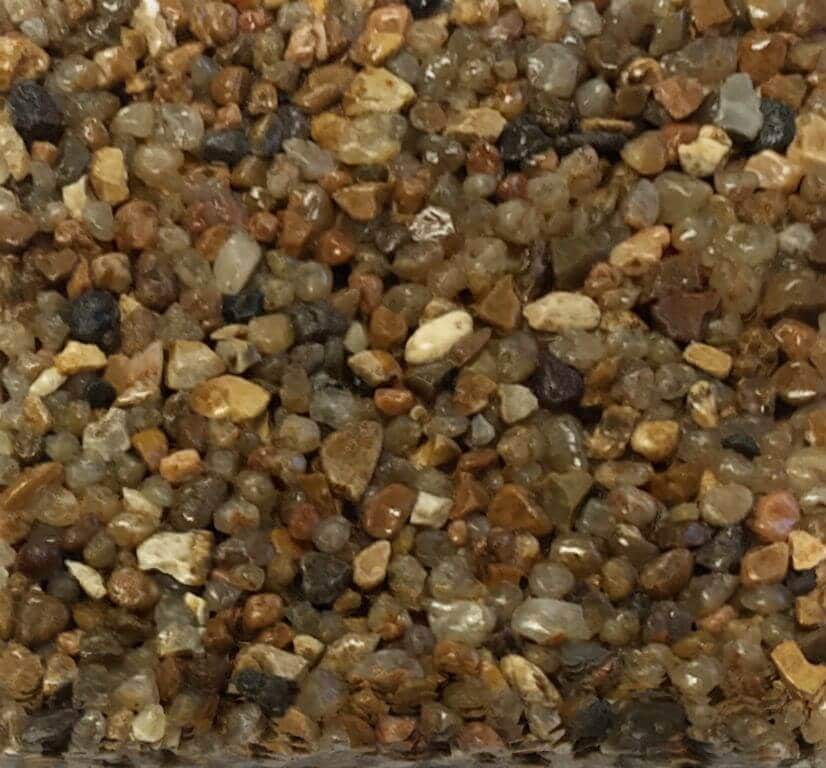
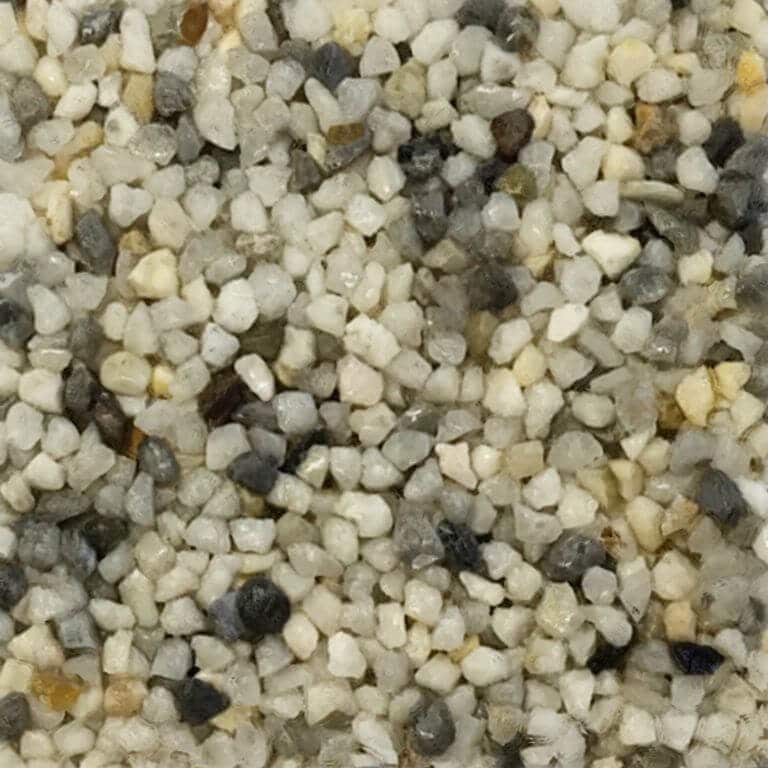
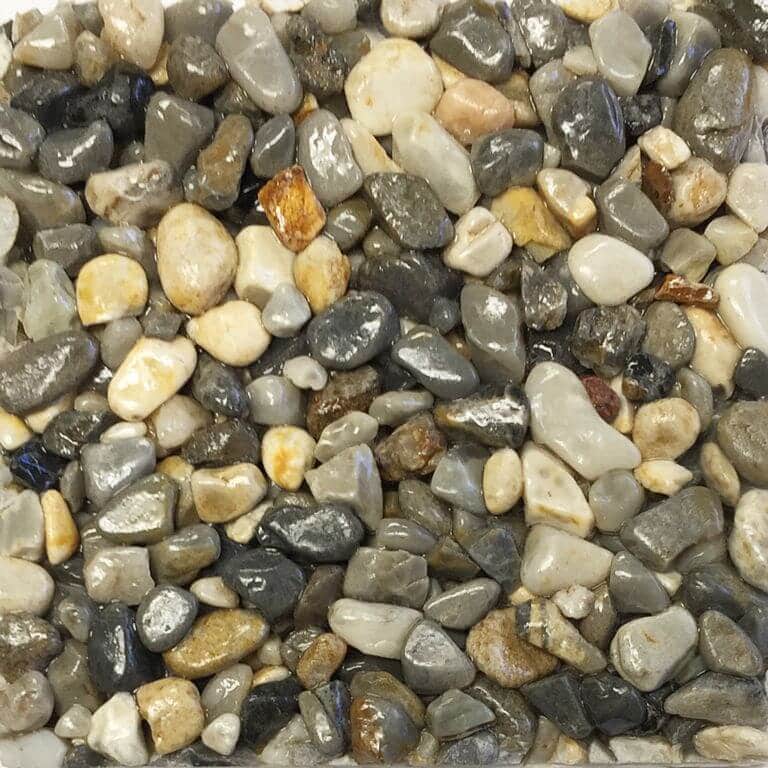
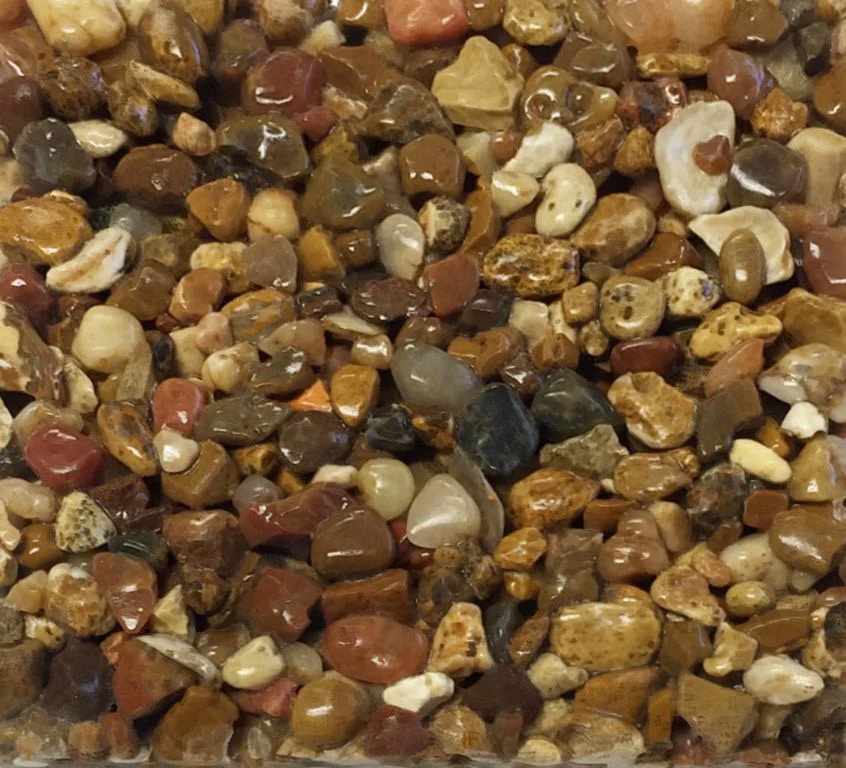
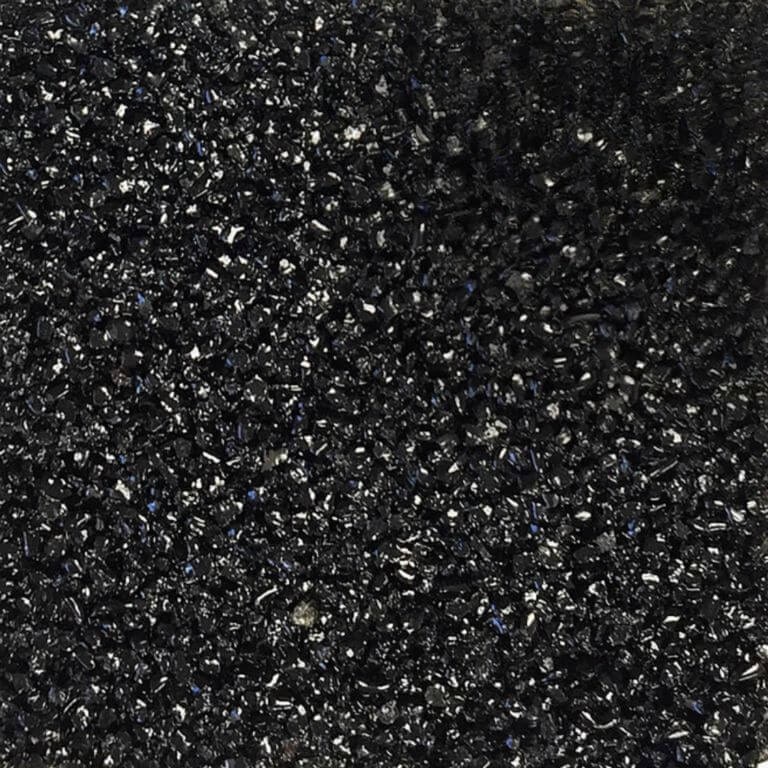
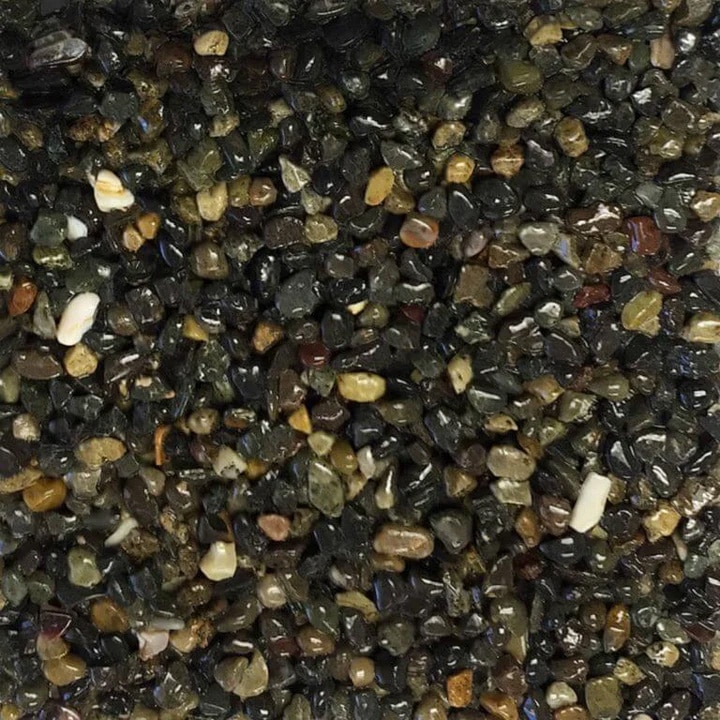
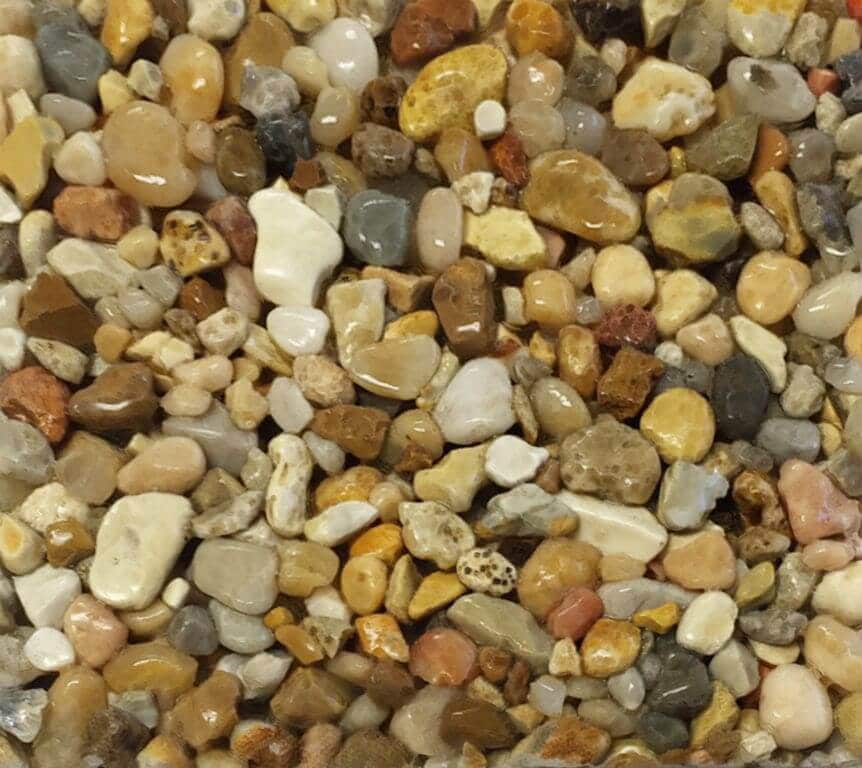
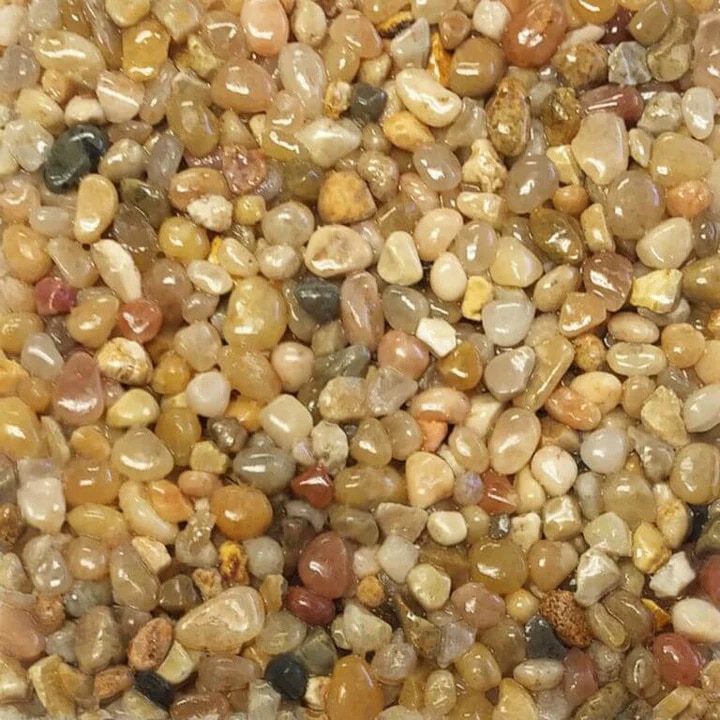
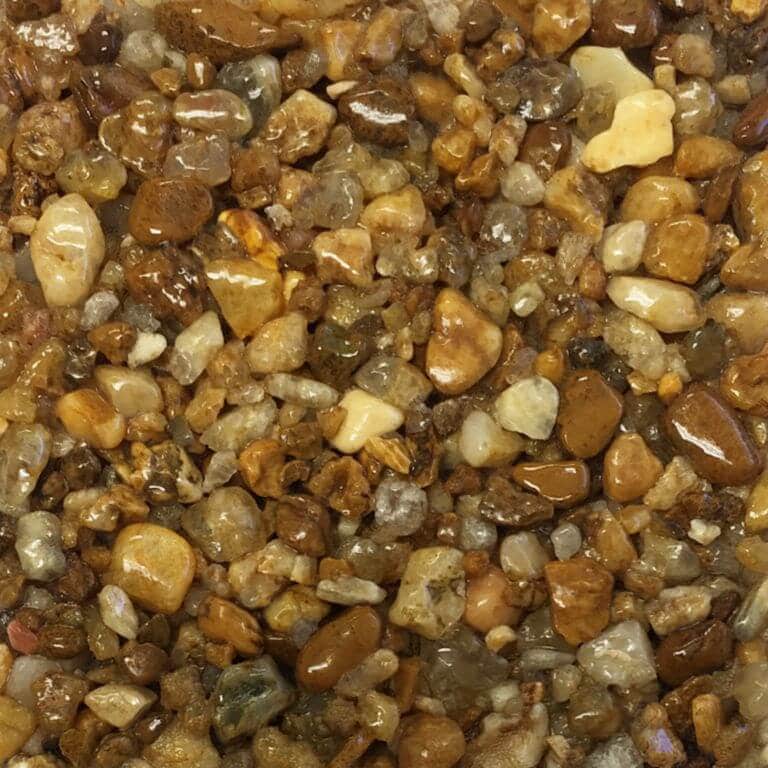
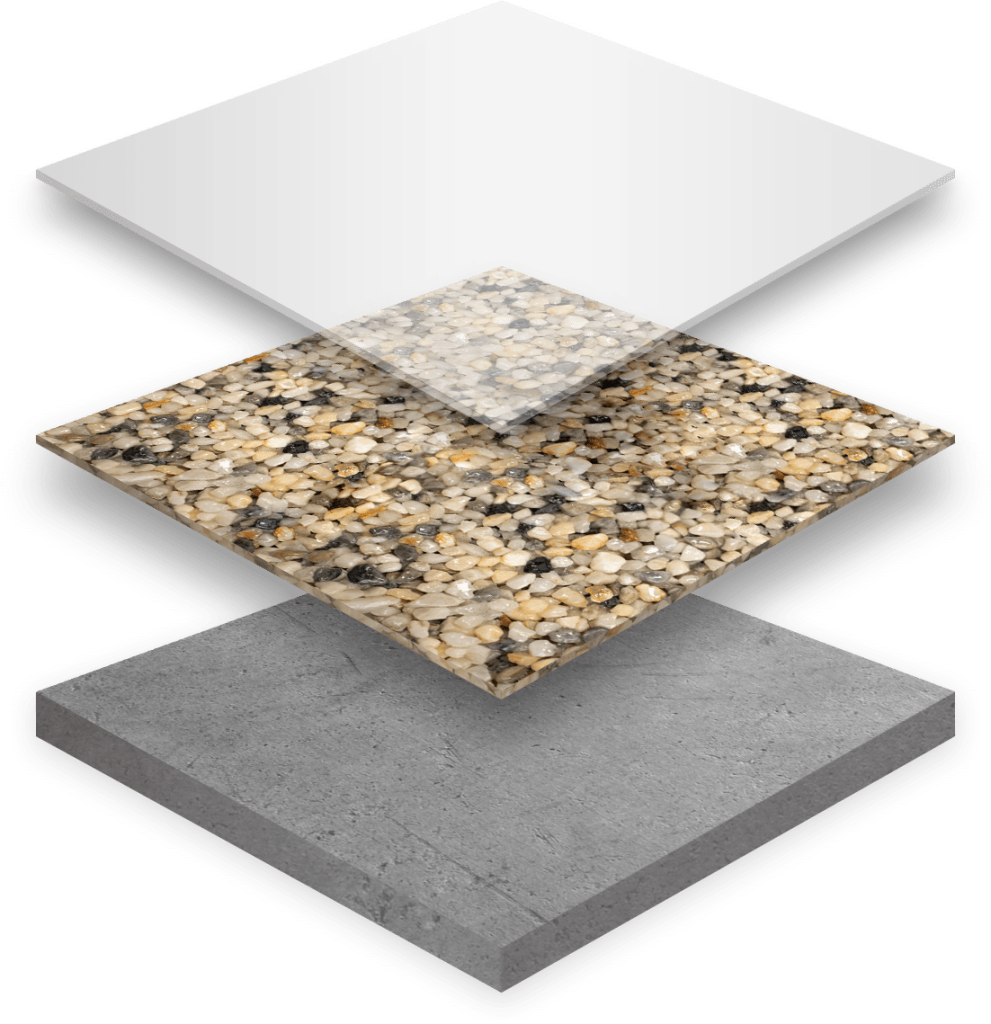
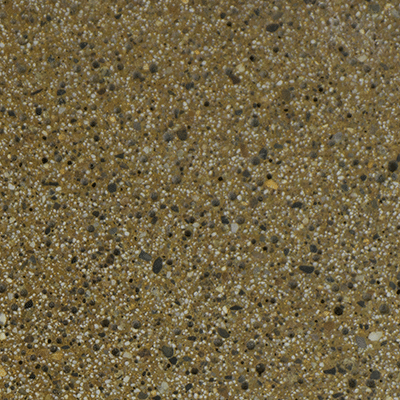
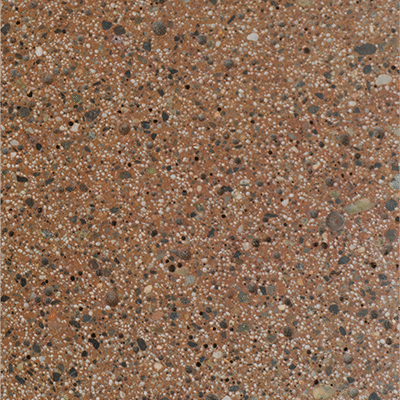
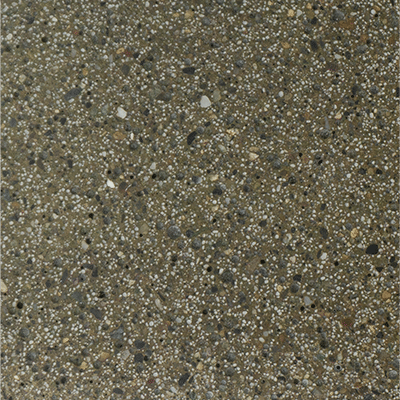
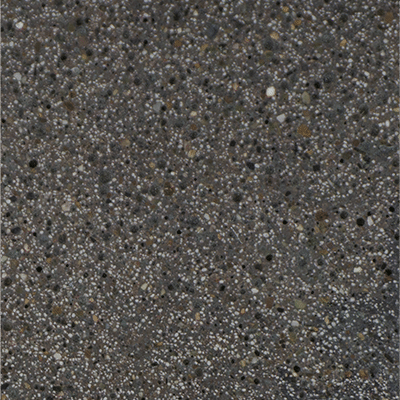
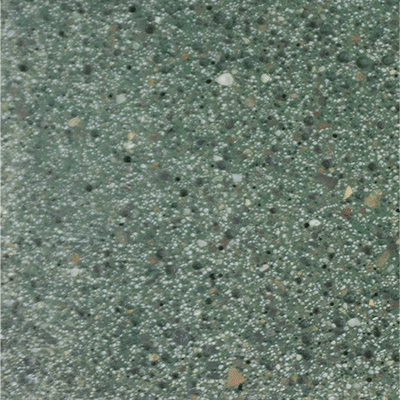
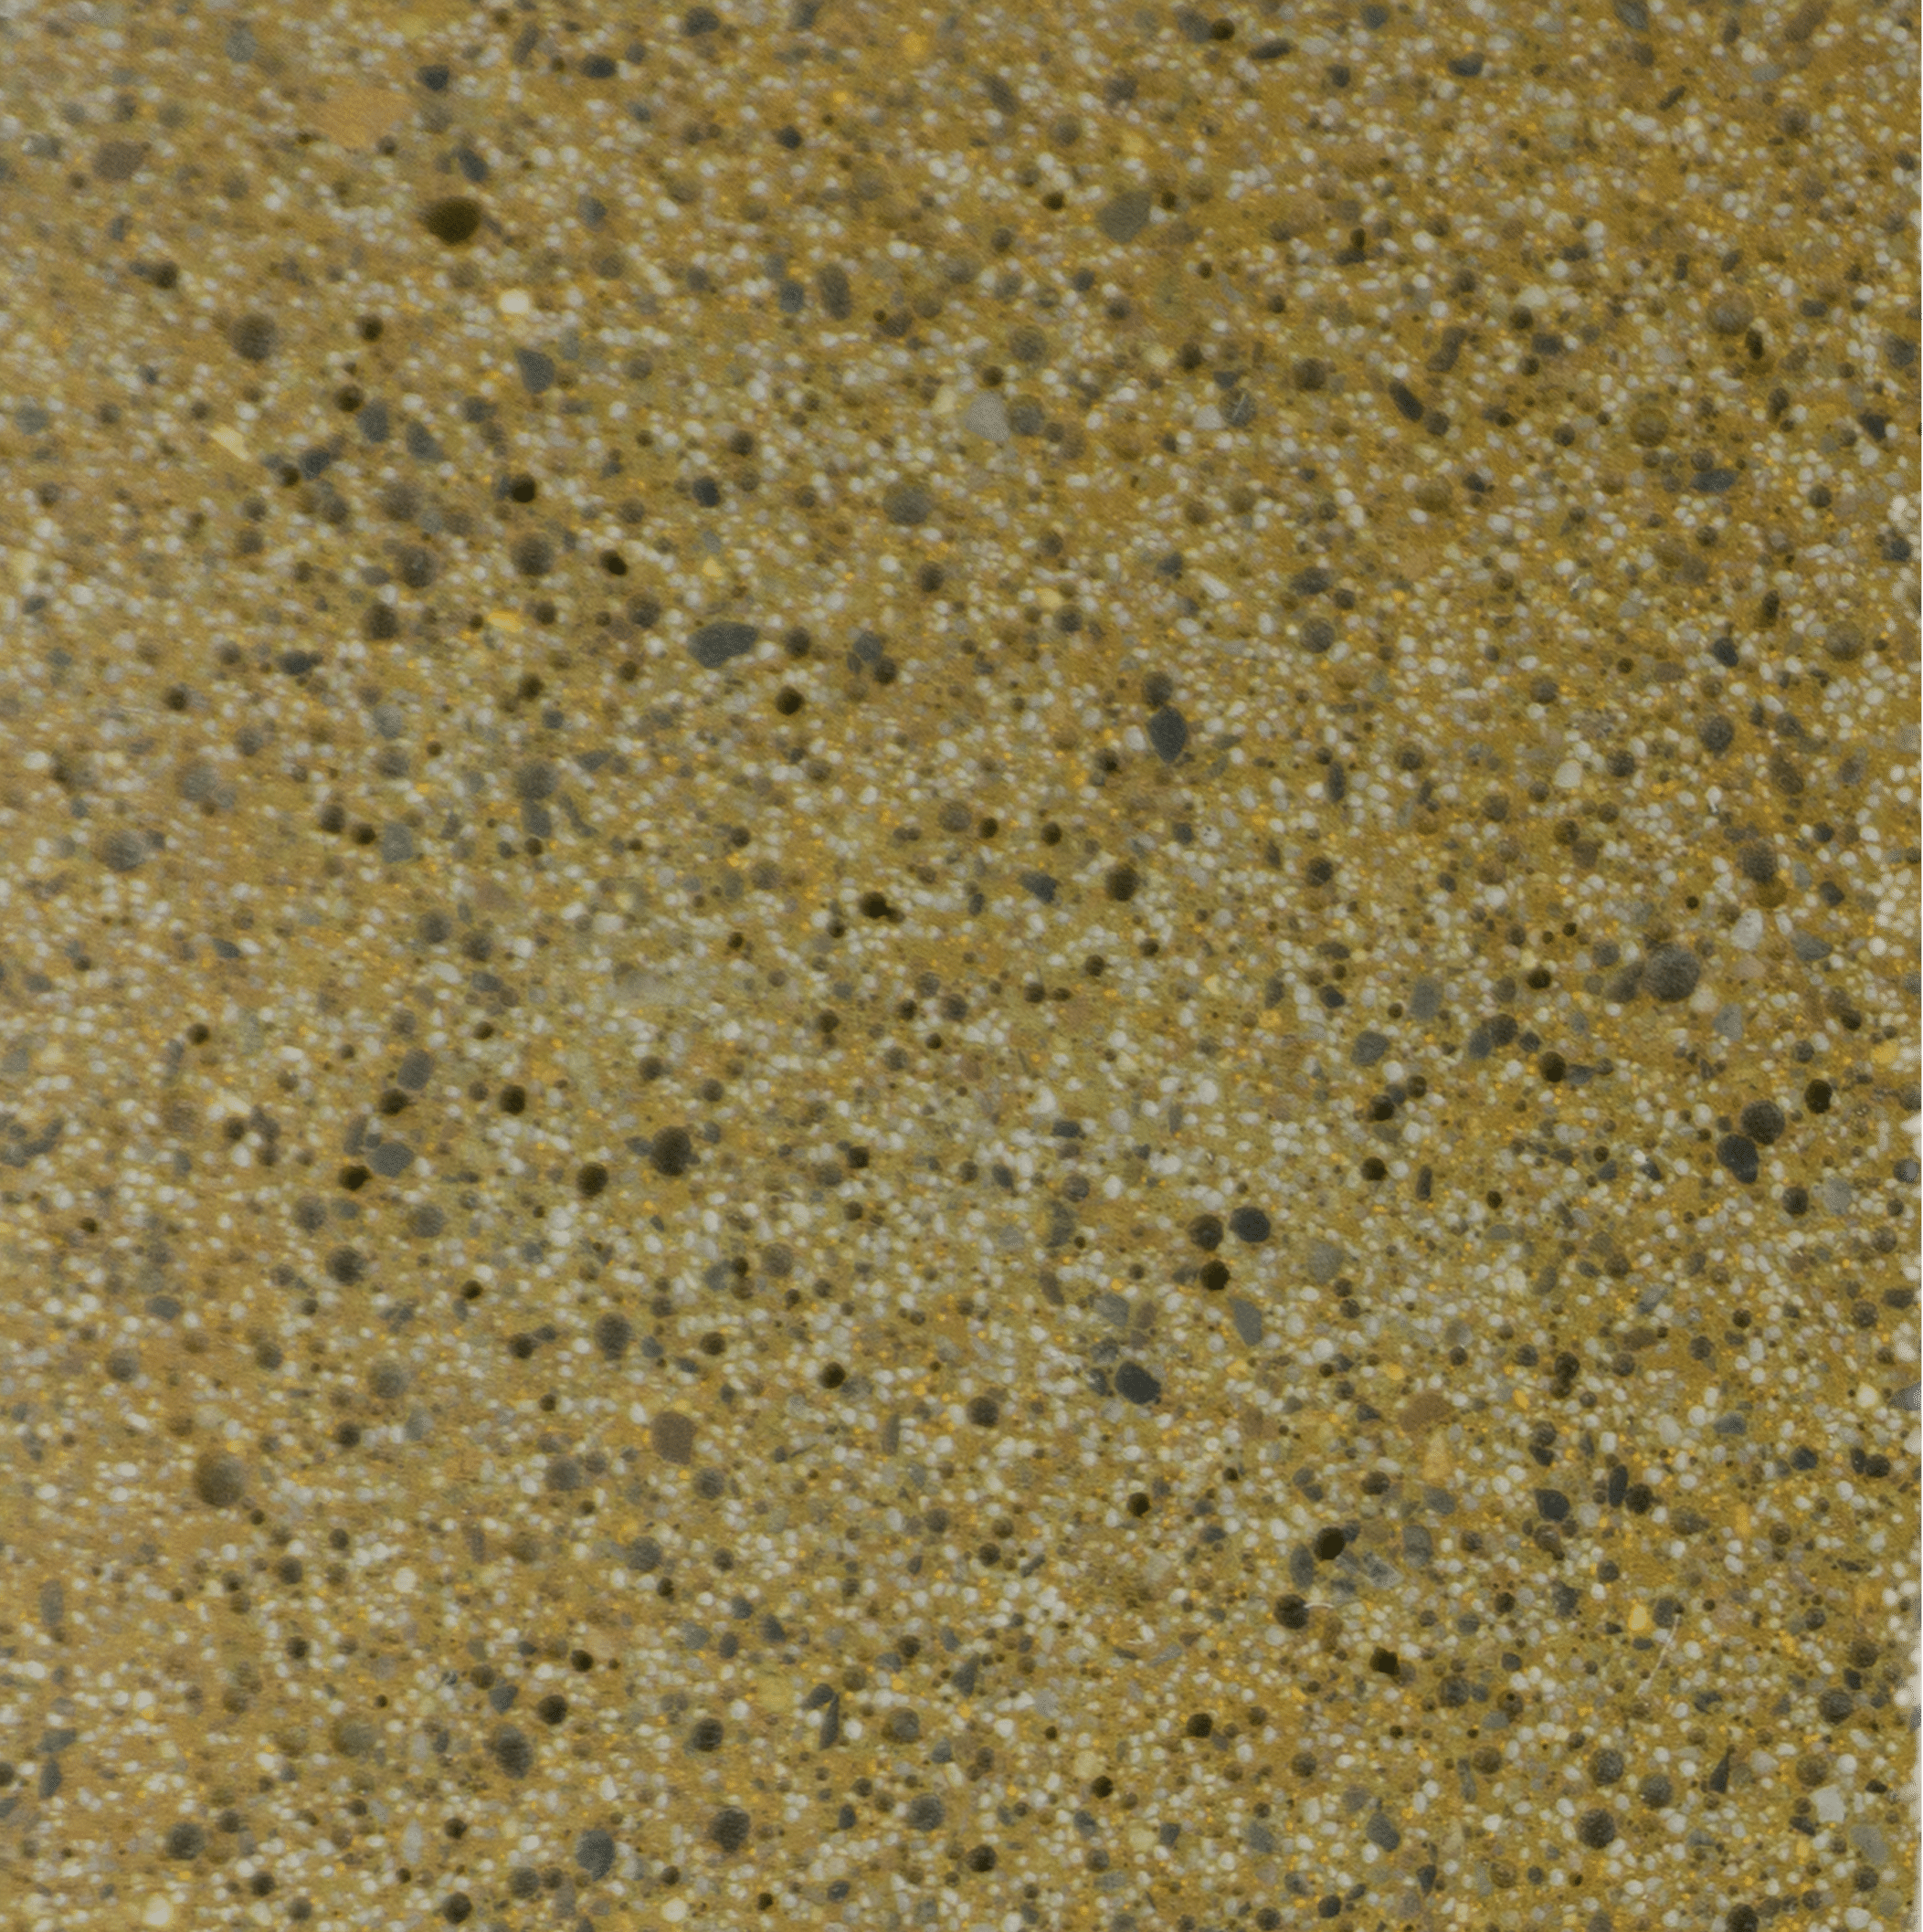
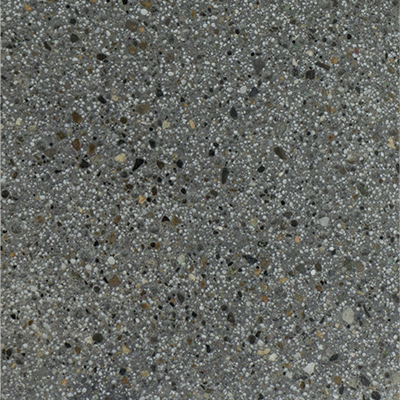
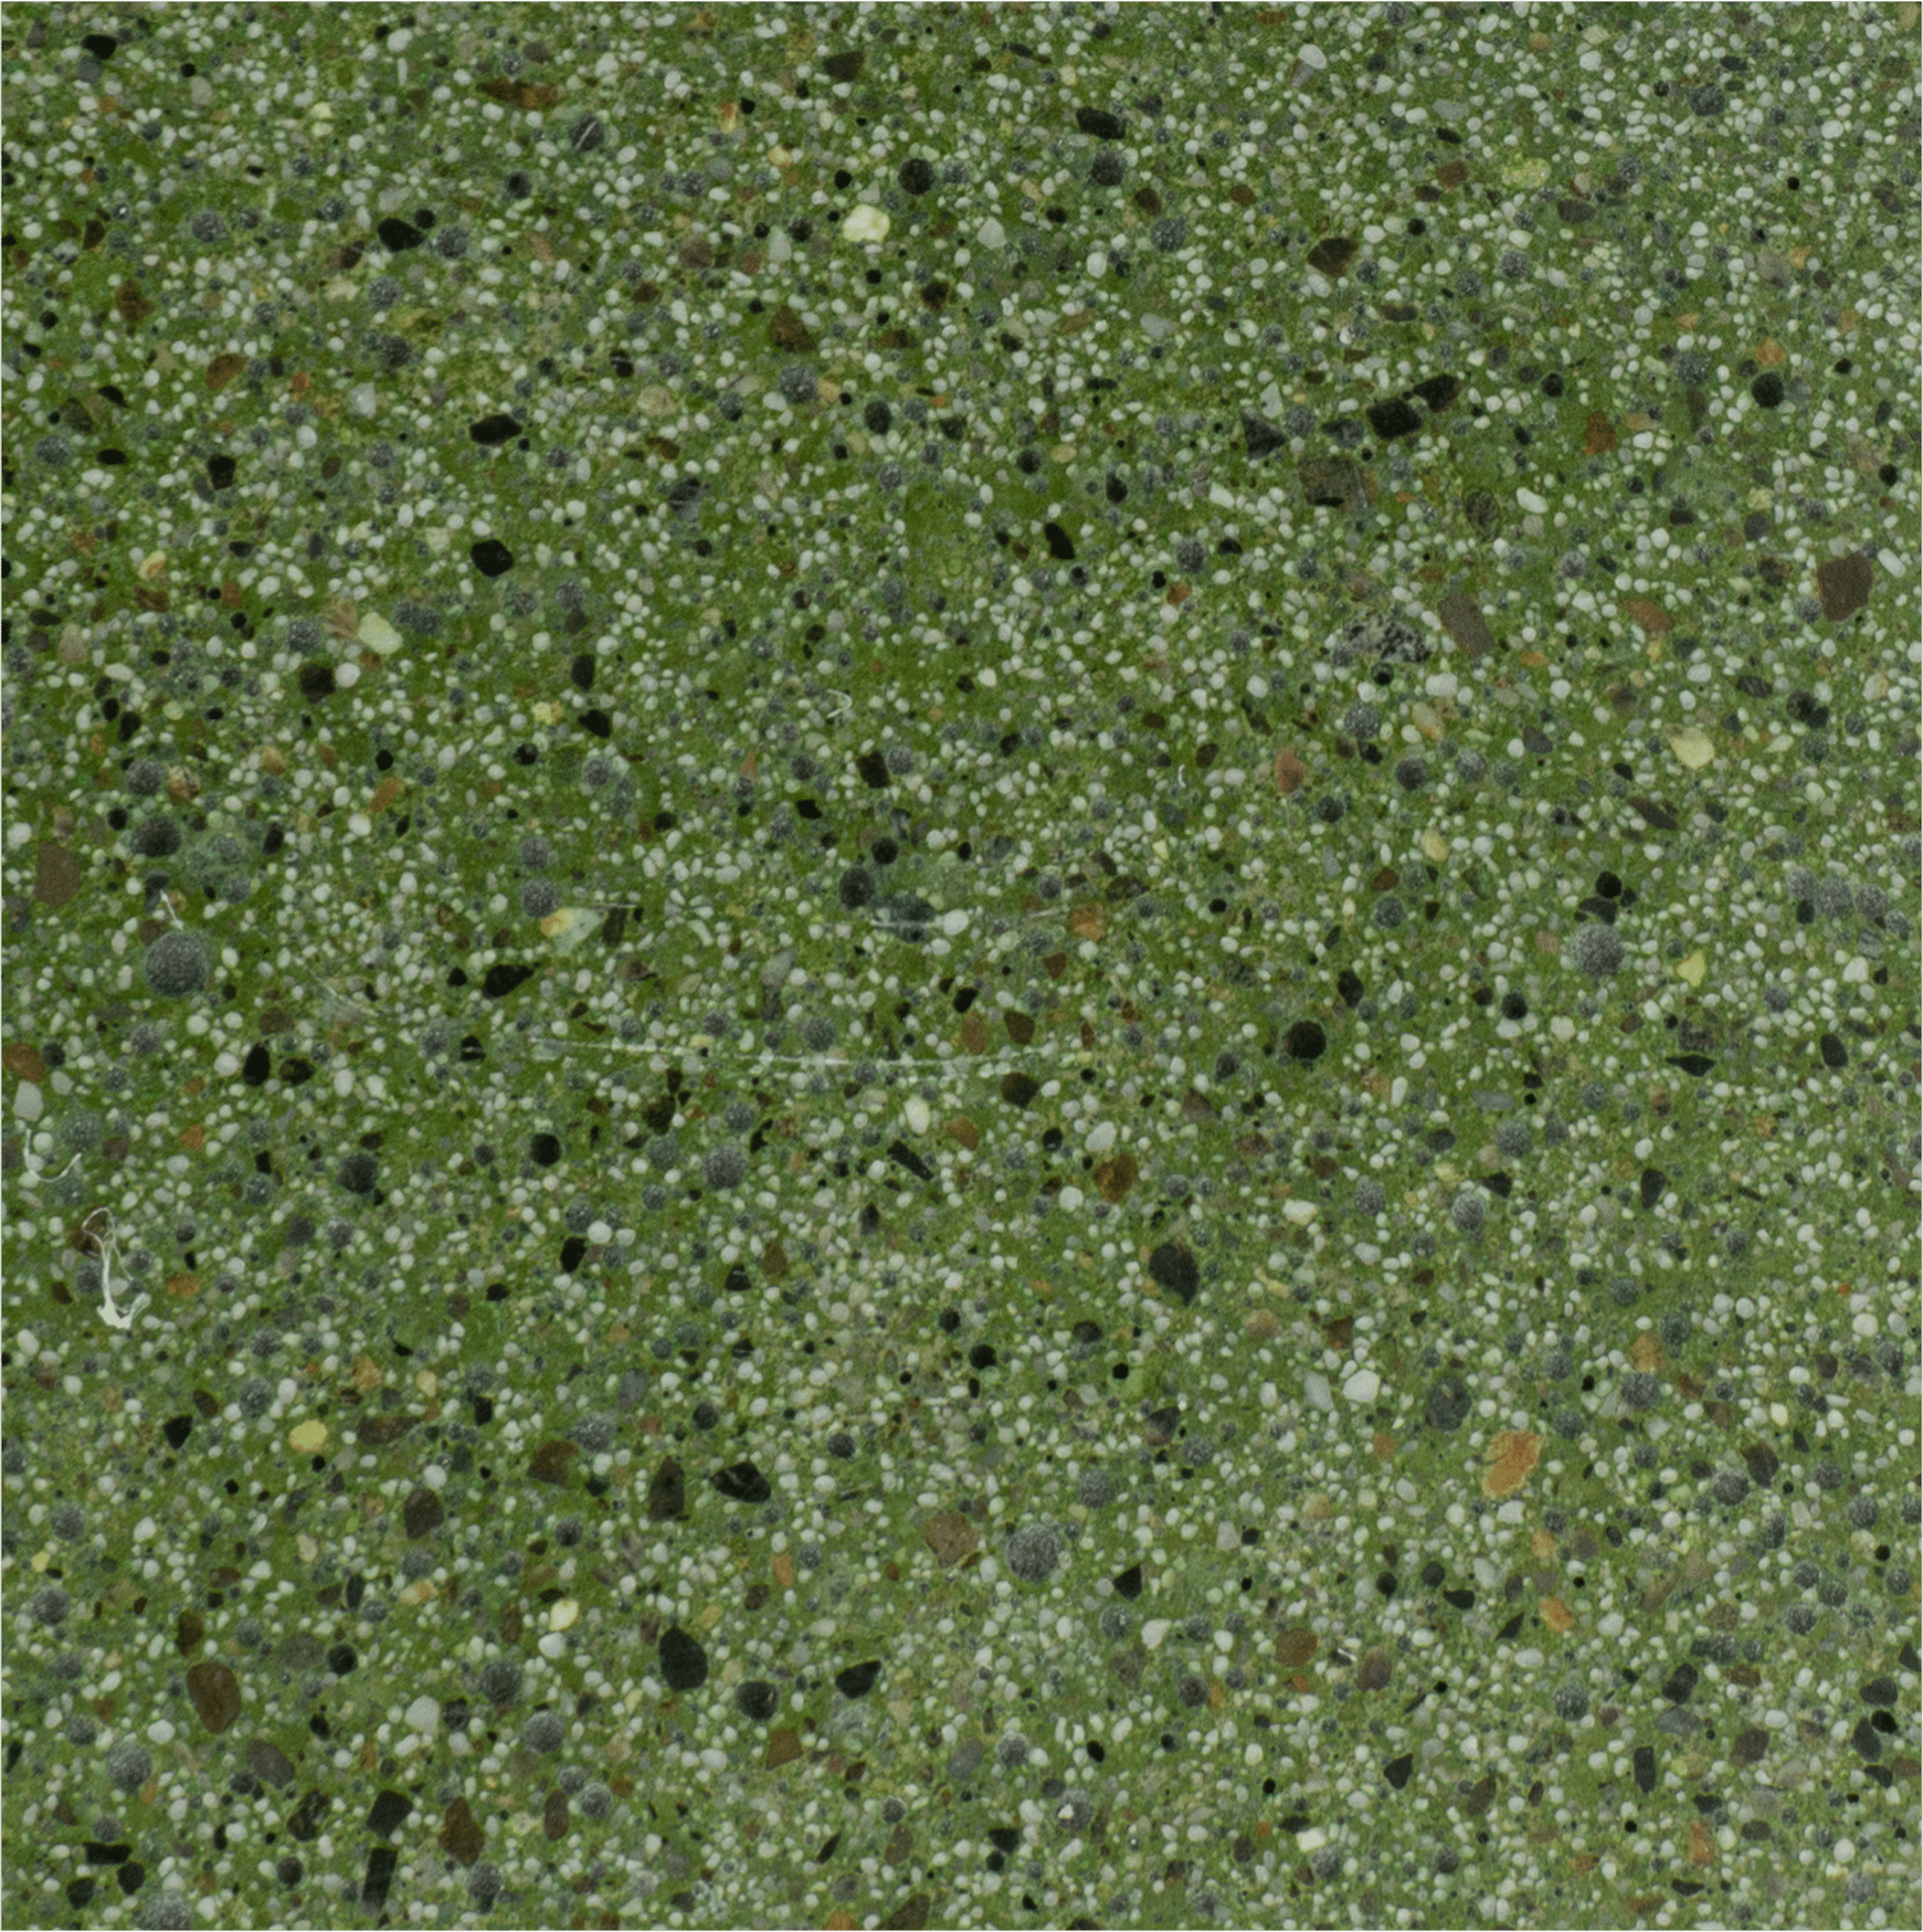
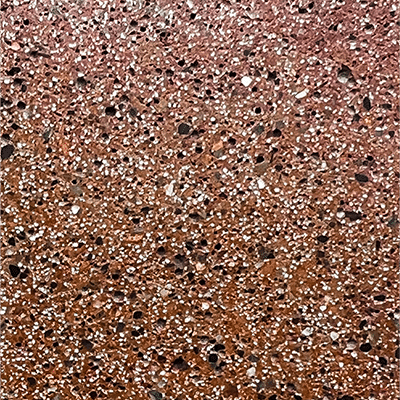
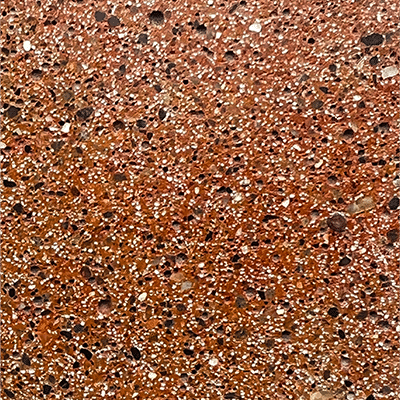
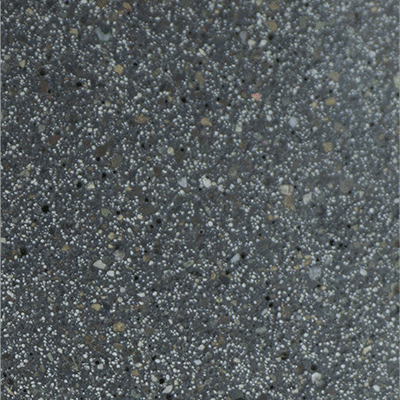
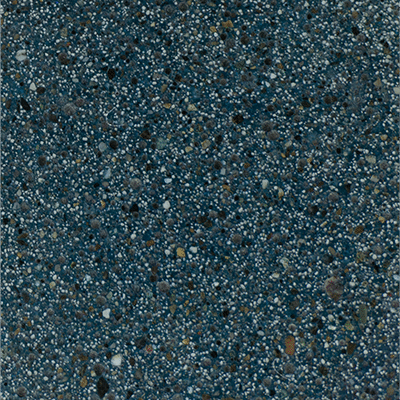
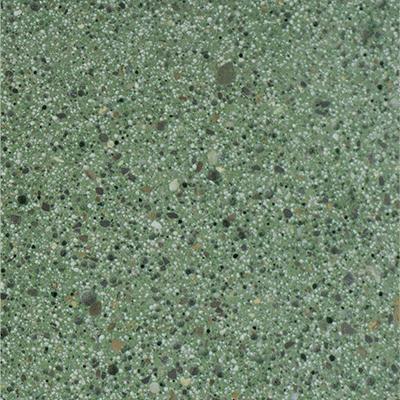
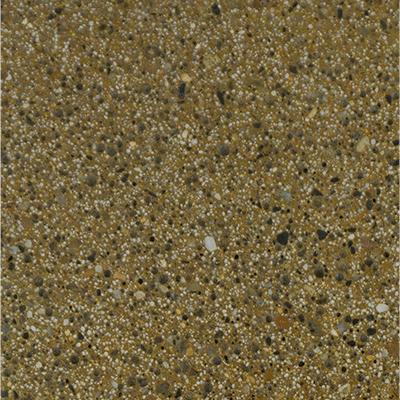
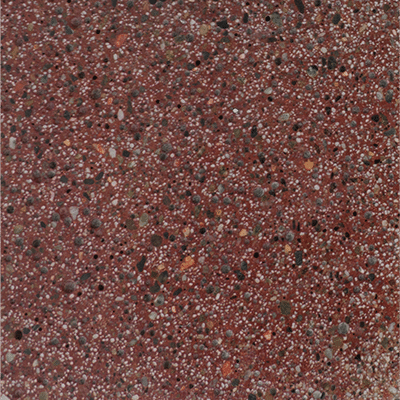
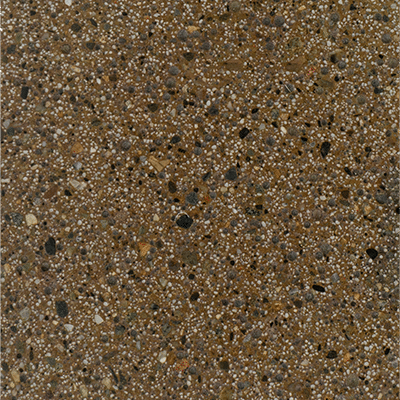
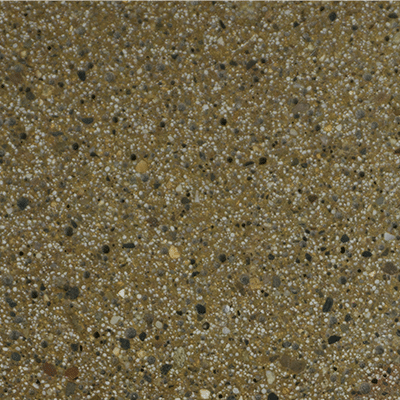
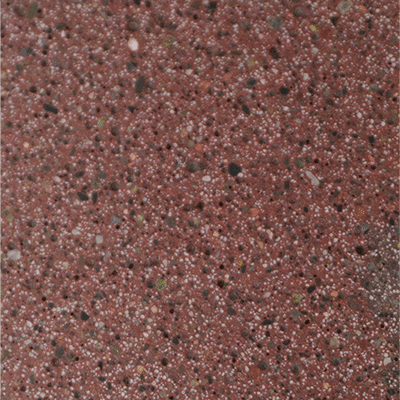
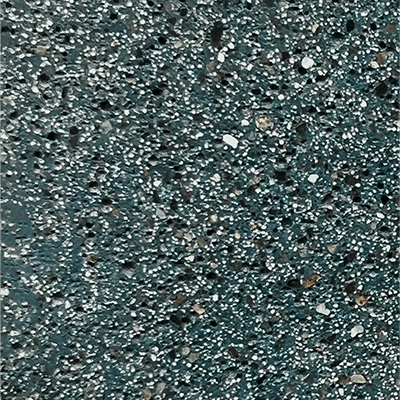
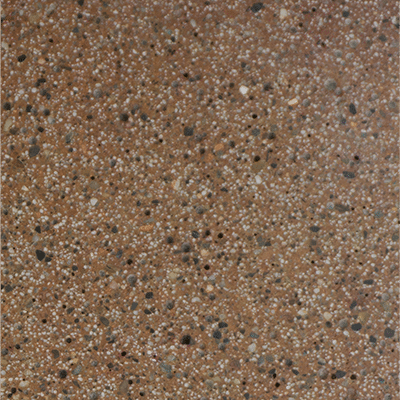
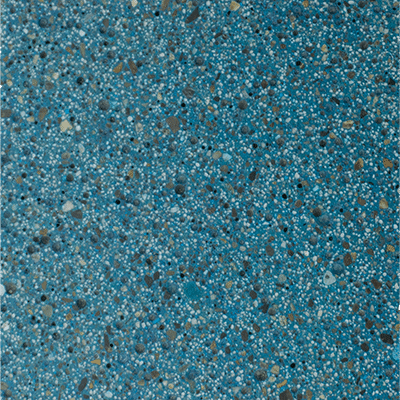
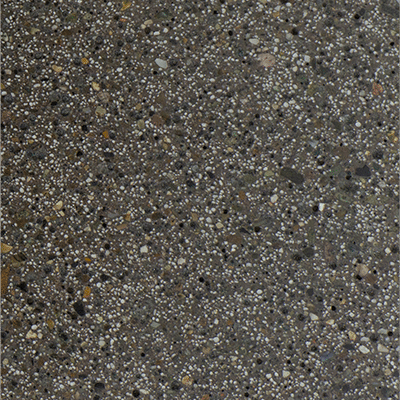
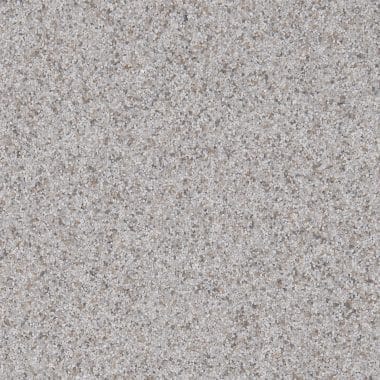
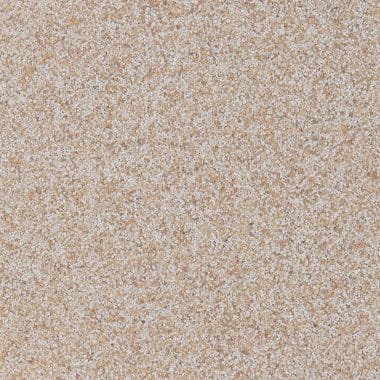
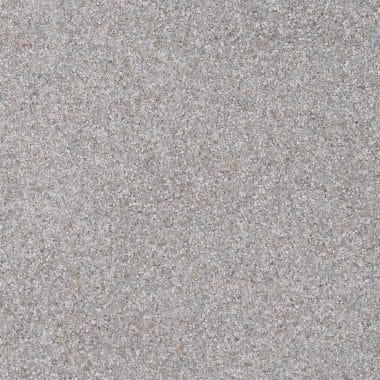
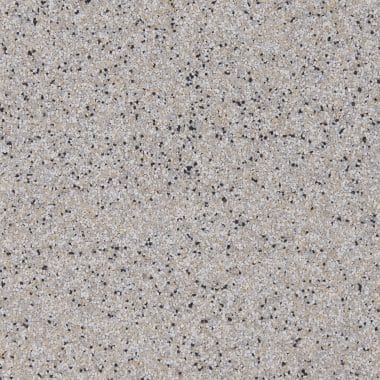
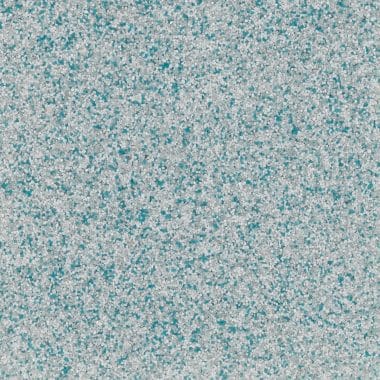
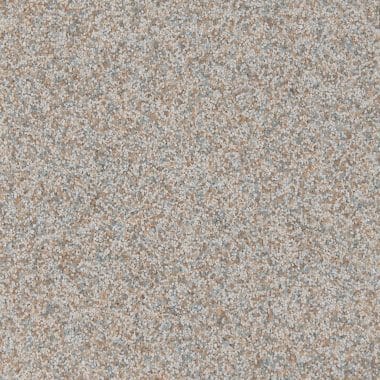
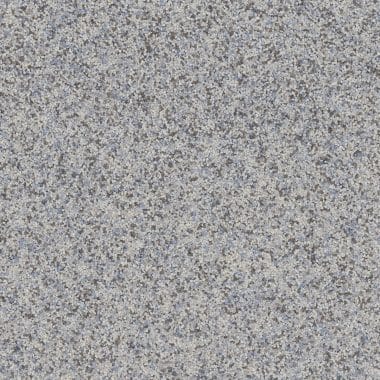
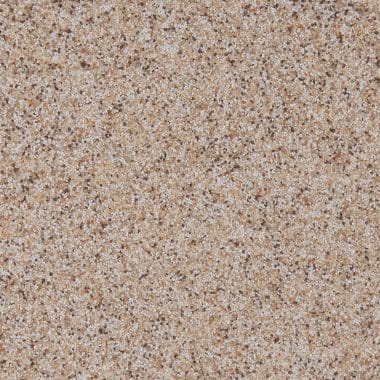
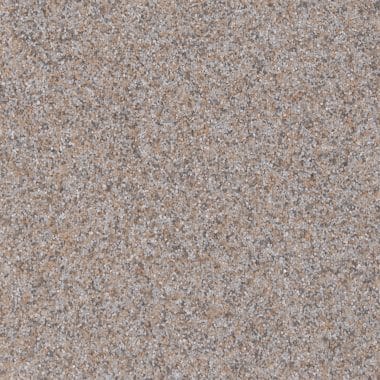
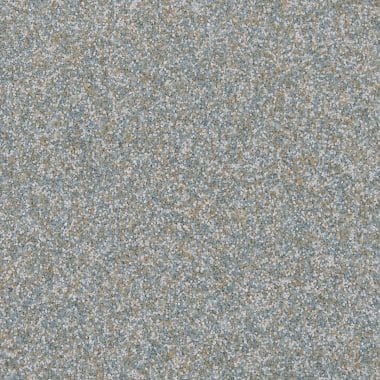
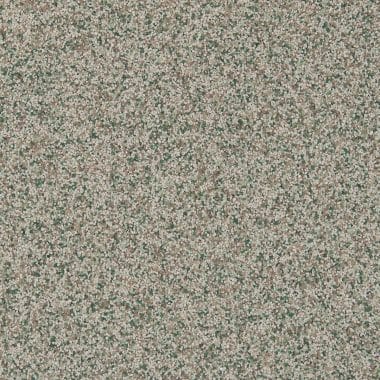
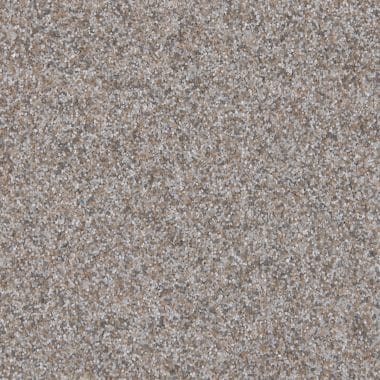
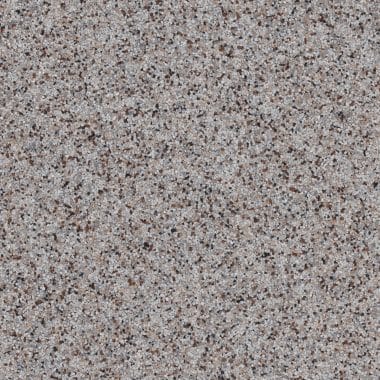
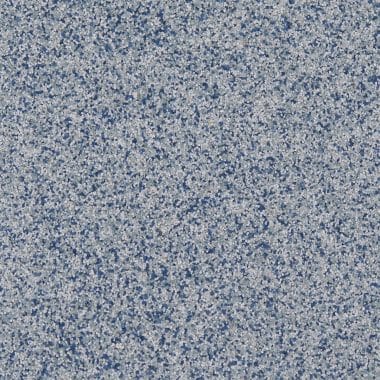
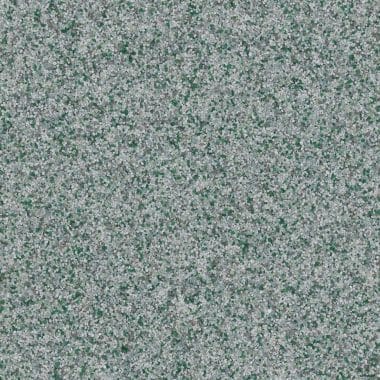
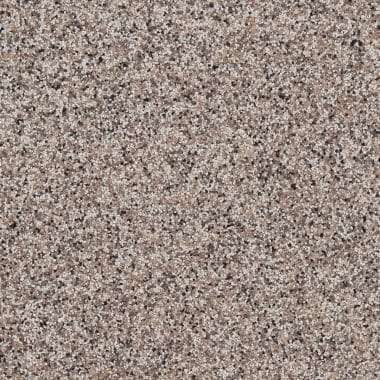
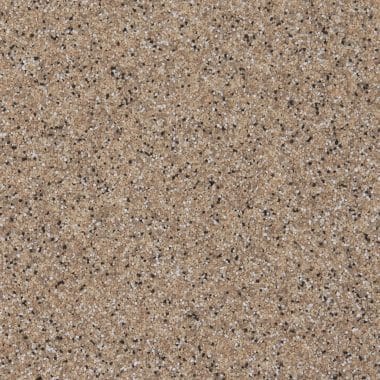
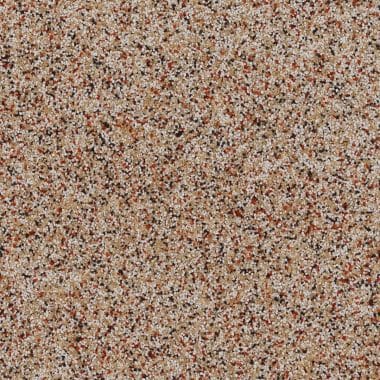
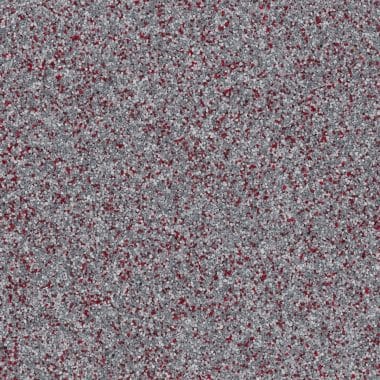
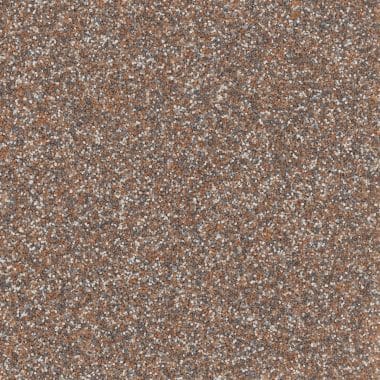
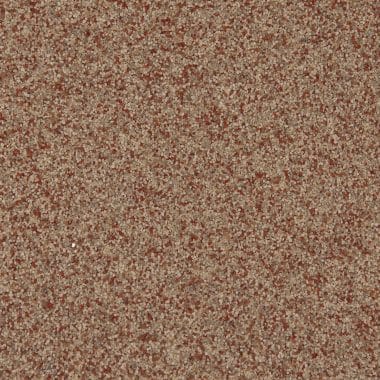
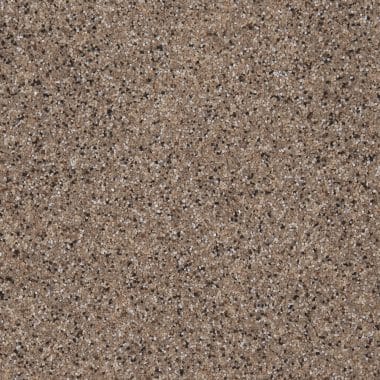
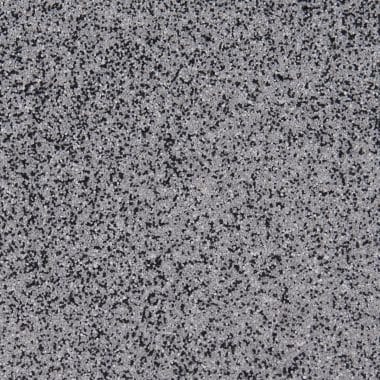
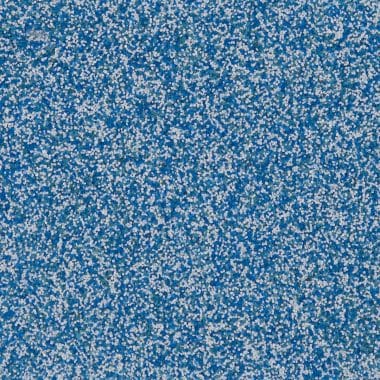
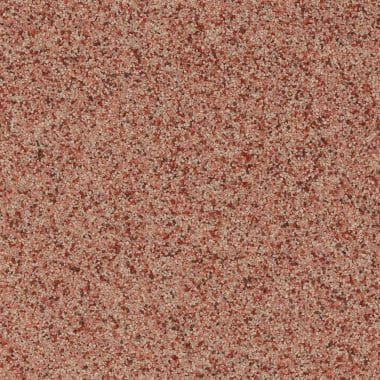
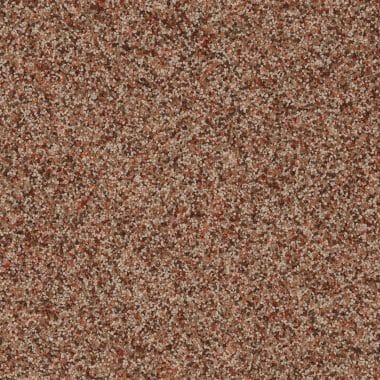
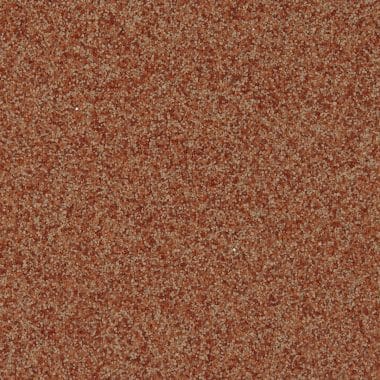
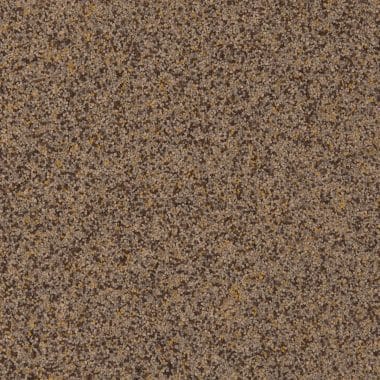
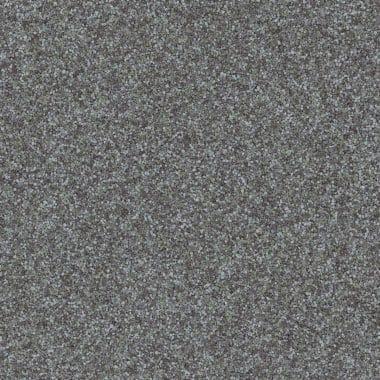
Resin bound stone — also called epoxy stone flooring — is a permeable surface of natural stone bound in clear resin and troweled over concrete. Resin bound stone comes in a wide range of natural blends. Browse the swatches below.
Durable, Designer-Grade Dyes for Long‑Lasting Concrete Finishes
Ameripolish® – Bringing color, creativity, and consistency to every concrete surface offering 24 stock colors, with custom colors available by request.
The colors listed are only a representation of the Ameripolish® Concrete Dyes. Change in concrete slab colors will affect the appearance of the dye. Color results cannot be guaranteed. Actual colors may vary.
Note: All colors shown are intended to show the approximate color of finish, choices, and ranges. Dry pigment colors are achieved after 2 coats of a penetrating, color enhancing, clear sealer. DO NOT use this chart as a final selection for colors. Final colors are effected by site conditions and installation procedures. SureCrete recommends making final selections from job specific samples made in the field as color is dependent on the concretes natural color value.
◊ This symbol indicates that these colors fall under Special Color 1, and have a higher cost when ordering.
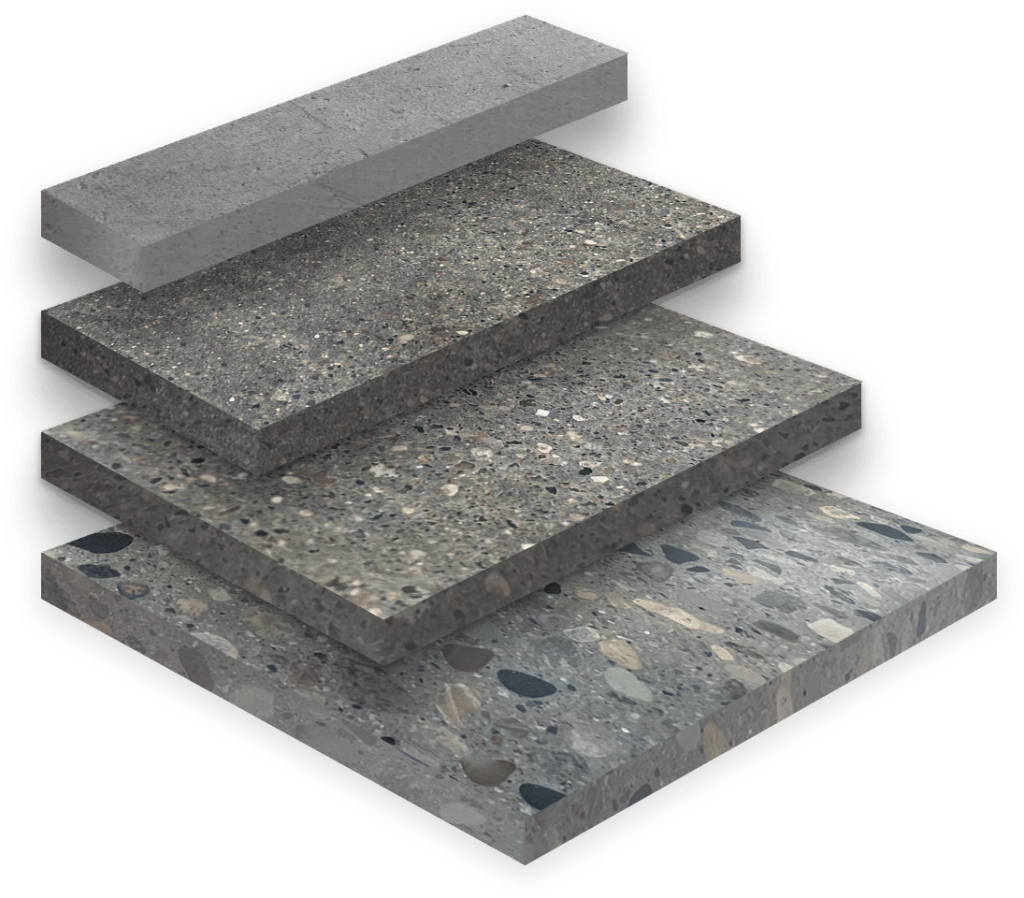
Our Concrete Overlay Process:
Step 1
Diamond Grind Concrete To Profile It For Proper Bonding (Most Important Step)
Water-based concrete stain coloring, such as Eco-Stain, deliver micronized pigments into the concrete without the addition of acids or metallic ions to create rich colors to stain concrete floor surfaces.
Note: Colors are based on grey concrete with stain applied at standard strength, no additional dilution, with two applications and is sealed with a penetrating color enhancing sealer. Surecrete recommends the use of SCR (super concrete renovator) for surface preparation preceding the application of eco-stain. Color samples on this chart represent the color of finish as closely as possible. Color variations may occur due to differences in cement, aggregates and methods of application.
Our Concrete Grind, Stain & Seal Floors Process:
Step 1
Diamond Grind Concrete To Profile It For Proper Bonding (Most Important Step)
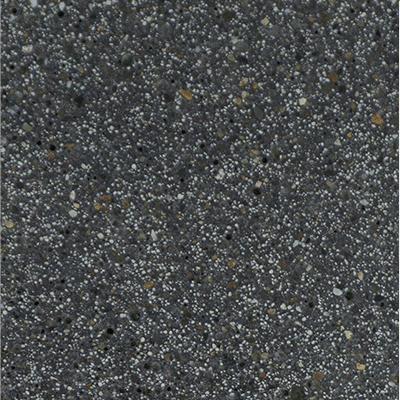
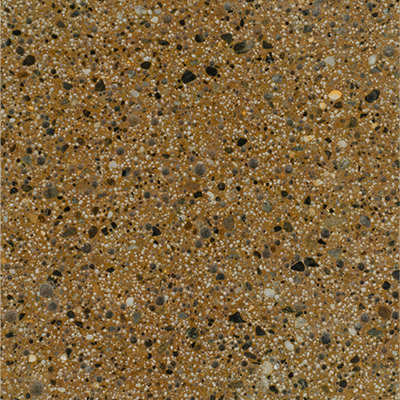
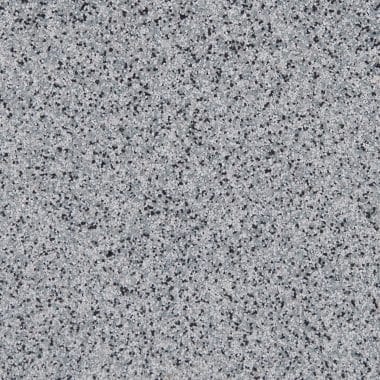
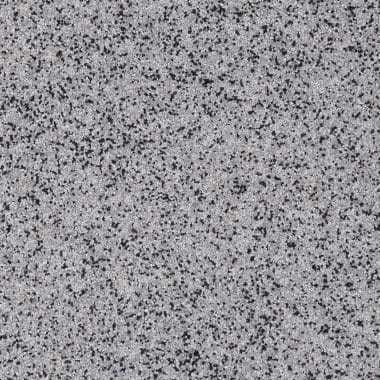
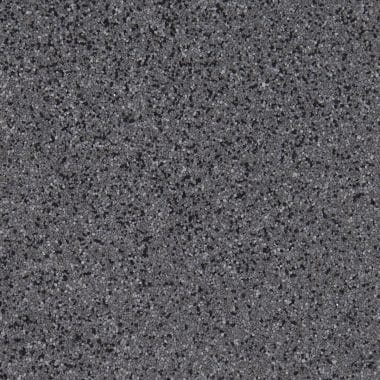
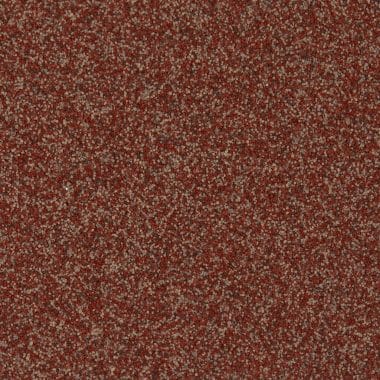
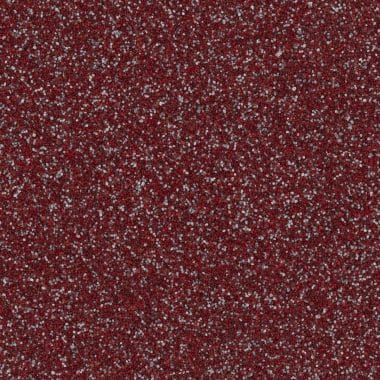
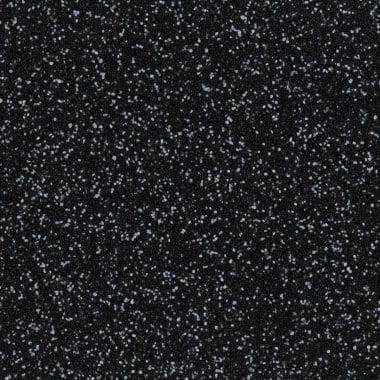
Engineered Durability with Long‑Lasting Quartz Color Stability
The optimal solution for demanding environments. RESIN QUARTZ works hard to protect and enhance the durability of high-performance flooring systems while maintaining superior chemical and abrasion resistance.